
Time: 40 Minutes
Generally I don’t really care about the details or best practices but over my career I have learned the importance of why best practices exist. I decided to build my own NAS from parts I had laying around. I had a RPi 4 model b (2 gb) and (2) 2 tb firecuda drives (spindle drives) I bought two sata to usb cables with power adapters to complete this build.
This is kind of a long article I apologize, but I felt the need to give all of the details of this particular build.
Here are the Pre-Requisites:
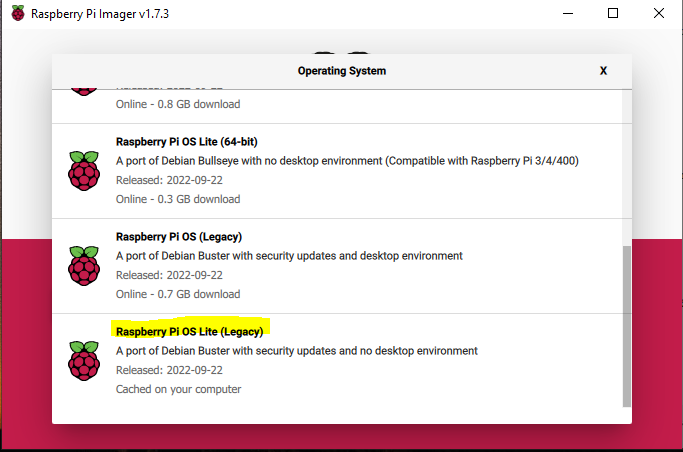
1 – Ubuntu Server/RPi OS Bullseye/Bookworm
2 – Webmin installed to manage it.
3 – iSCSI, nfs-kernel-server, & Samba-Cifs
note: If using the RPi 4 Device you will need the following:
1 – RPi 4 Model B Device
2 – (2) sata to usb cables/adapter w/power adapter
3 – (2) 2tb Hard Drives
4 – RPi OS installed on the device
5 – 30 minutes of time
6 – patience
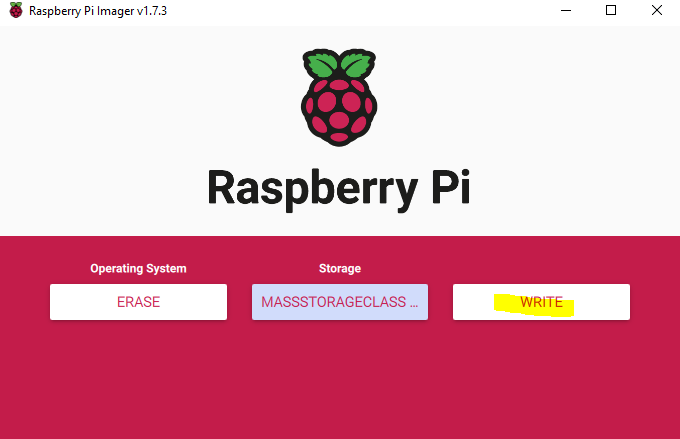
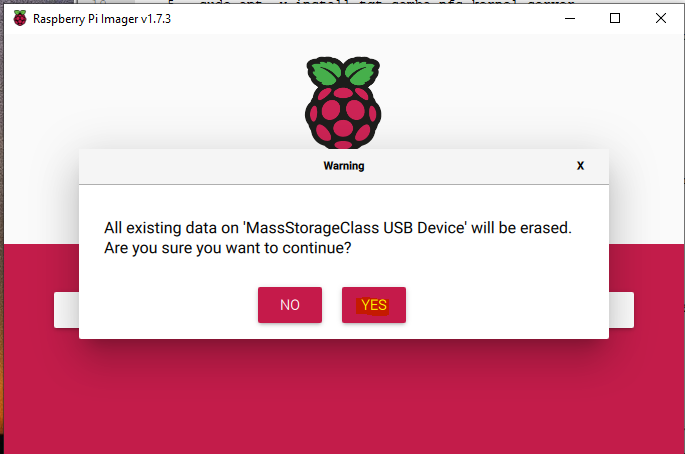
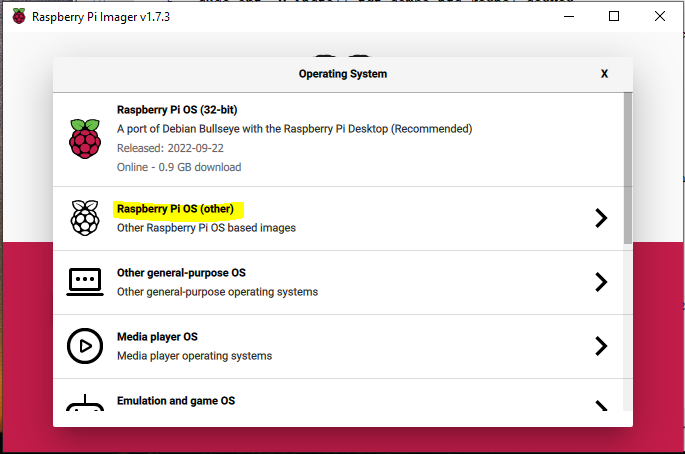
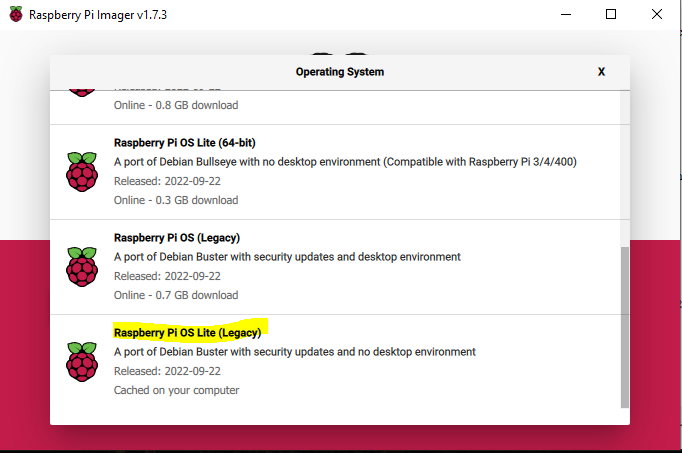
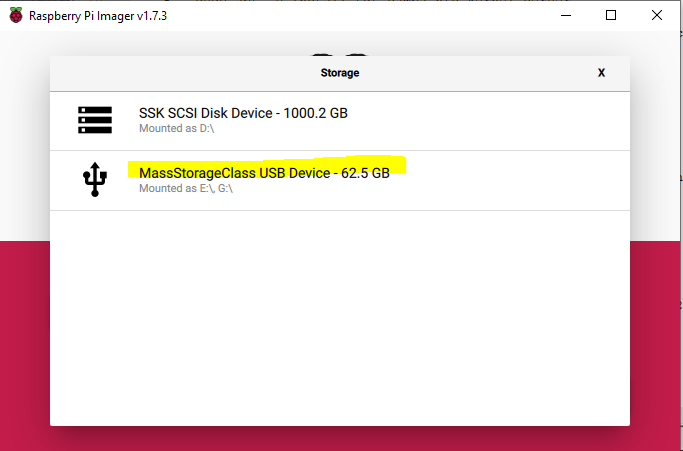
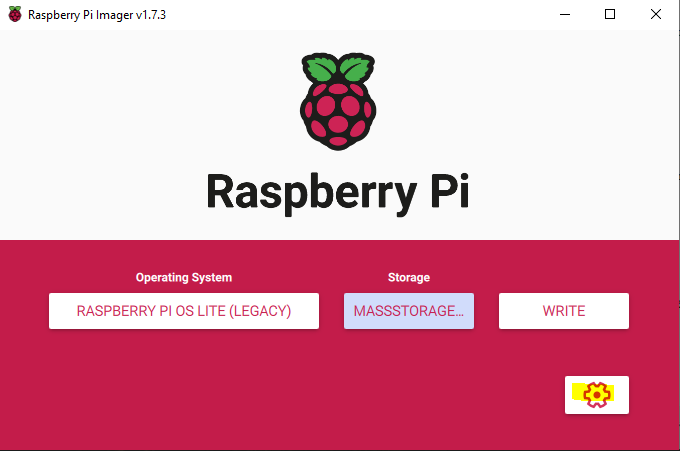
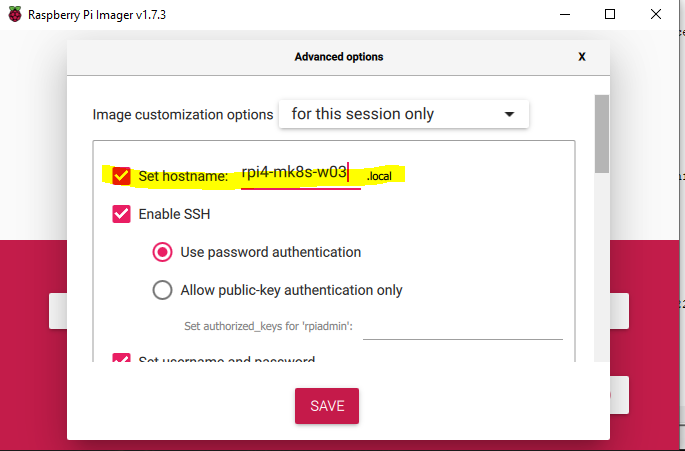
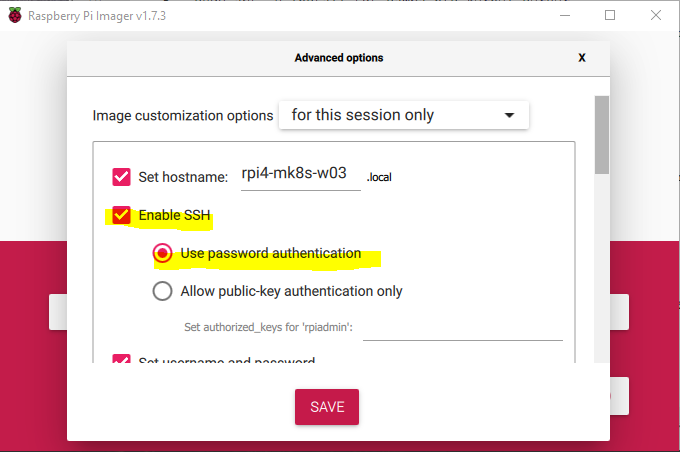
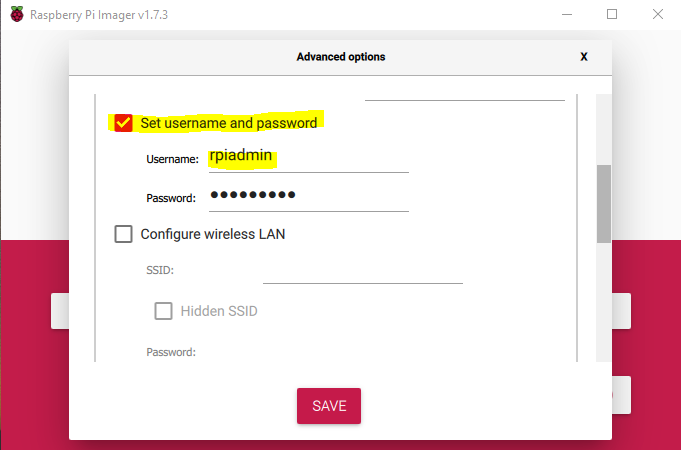
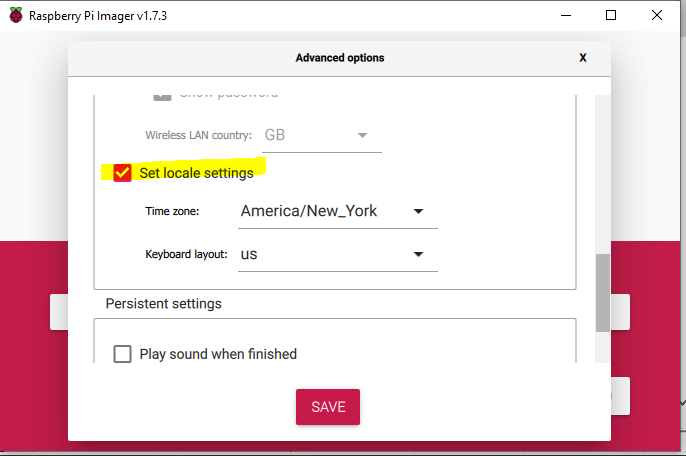
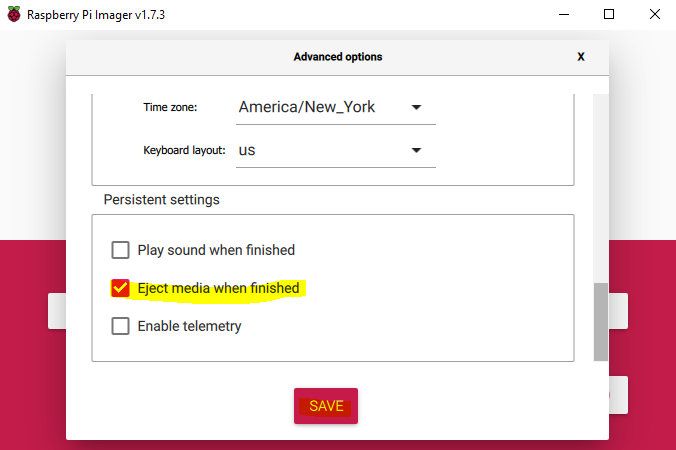
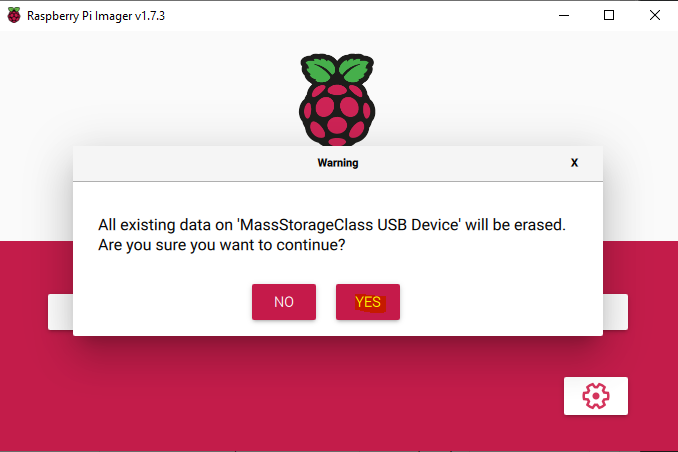
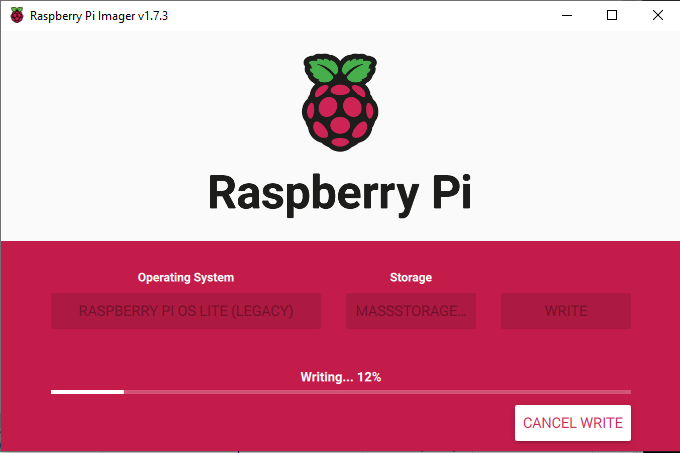
Use RPi Imager to burn the os to the SD Card:


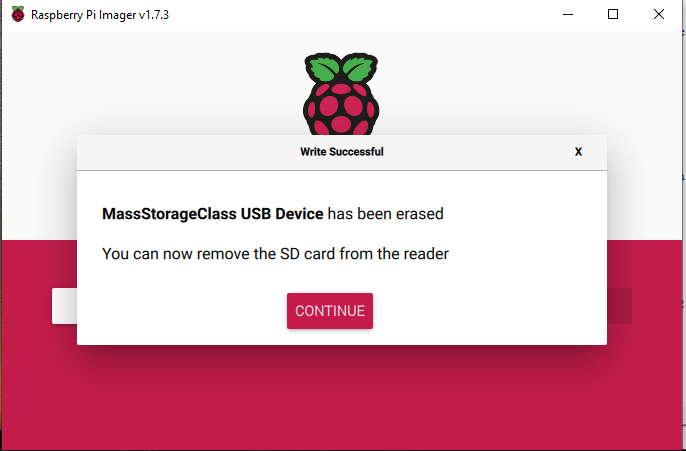
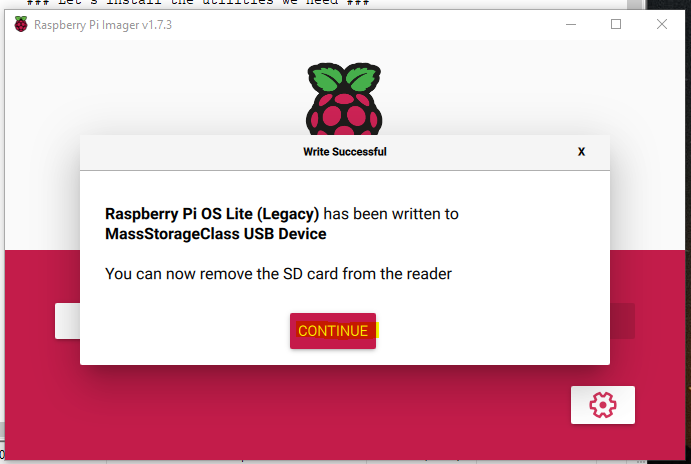
Remove the SD Card and plug it back in we have some things we need to do before we boot the pi with it.
Open File Explorer
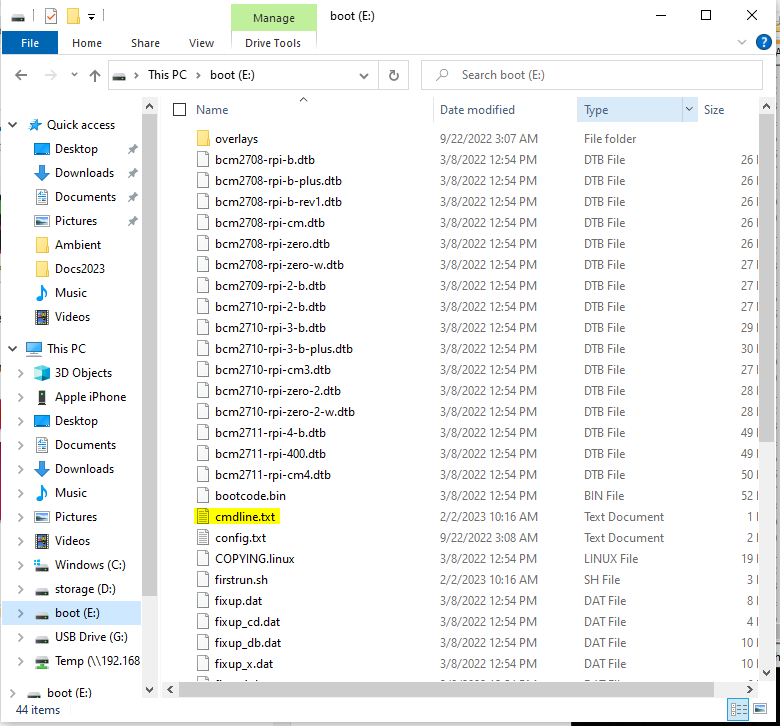
sudo nano -c /boot/cmdline.txt on Ubuntu Server it’s sudo nano -c /boot/firmware/cmdline.txt

The Above can be copied and pasted into this file I always put it at the start of the line:
ip=12.18.2.21::12.18.2.1:255.255.255.0:rpi4-k3s-w02:eth0:off cgroup_enable=cpuset cgroup_enable=memory cgroup_memory=1 swapaccount=1
Next we need to open the config.txt
sudo nano -c /boot/config.txt on Ubuntu Server it’s sudo nano -c /boot/firmware/config.txt### This will disable WiFi and Bluetooth ###
dtoverlay=disable-wifi
dtoverlay=disable-bt
# dtparam=audio=on
dtparam=audio=off
### Add on the last line after the [all] section This makes sure 64bit is used ###
arm_64bit=1
note: Plug the SD Card back into the Pi and power it on. After it boots; ssh in to the Pi for the next steps.
Make sure we update the repositories and the OS packages
1 – sudo apt update && sudo apt -y full-upgrade
Let’s install the needed software, so that you cover the whole spectrum of a NAS Server:
2 – sudo apt -y install tgt samba nfs-kernel-server mdadm rsync dump
Check to see if the drives are recognized:
3 – sudo lsblk
Create the RAID array
Use double dashes in the command on line 4 please. I like to use all my space so I use raid 0.
4 – sudo mdadm –create –verbose /dev/md0 –level=0 –raid-devices=3 /dev/sdb /dev/sdc /dev/sdd
Let’s make sure it was created properly
5 – cat /proc/mdstatmd0 : active raid0 sdc[1] sdb[0]
9767276544 blocks super 1.2 512k chunks
Create the filsystem on the raid
6 – sudo mkfs.ext4 /dev/md0
Create the mount point
7 – sudo mkdir -p /media/Stor1
8 – sudo mount /dev/md0 /media/Stor1
Let’s append the config to the mdadm config file
9 – sudo mdadm –detail –scan –verbose | sudo tee -a /etc/mdadm/mdadm.conf
Enable the Raid at boot
10 – sudo update-initramfs -u
Put the raid mount point in the fstab file
11 – sudo nano -c /etc/fstab
12 – /dev/md0 /media/Stor1 ext4 defaults,nofail,discard 0 0
Test the raid to make sure it’s functioning properly
13 – sudo chmod -Rf 777 /media/Stor1/
14 – sudo timedatectl set-timezone America/New_York
Let’s install your new GUI: (IF YOU ARE INSTALLING THIS ON A RPi 4 GOTO RPi4 install below)
15 – sudo apt -y install software-properties-common apt-transport-https
16 – apt-key list
# look for the jcameron-key if it's not there then do the following. #
17 - sudo apt-key adv --keyserver hkp://keyserver.ubuntu.com:80 --recv-keys D97A3AE911F63C51
18 – sudo nano -c /etc/apt/sources.list## Add this to bottom of the file - Webmin Repositories ##
deb http://download.webmin.com/download/repository sarge contrib
19 – sudo apt update && sudo apt -y install webmin
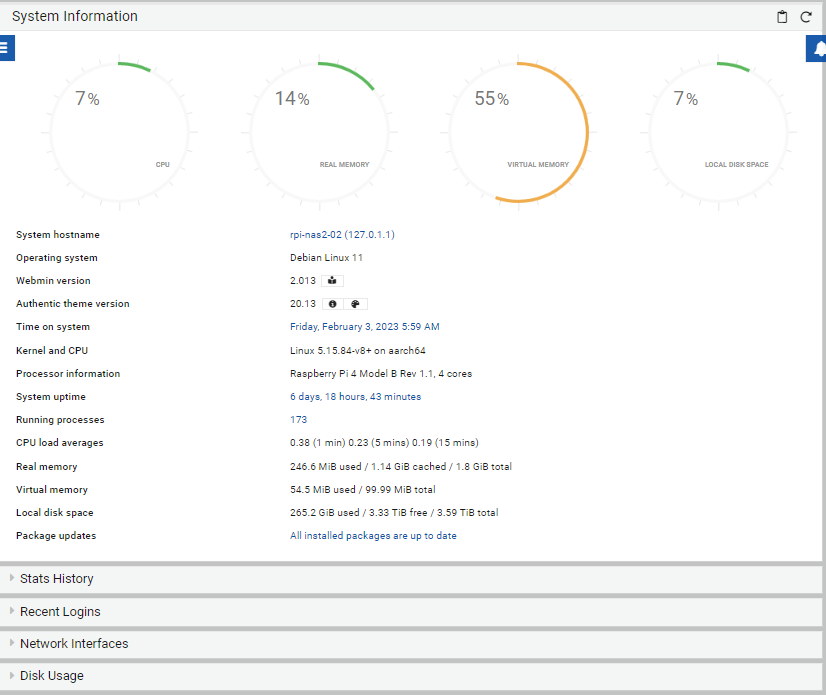
20 – sudo systemctl status webmin
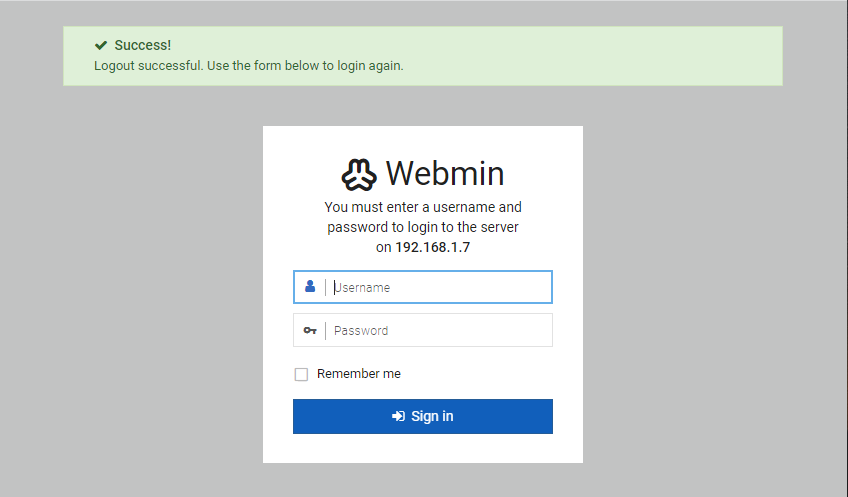
Goto the interface in your browser after the script has completed.
21 – https://[your server’s IP]:10000/
### and login with your account. ###
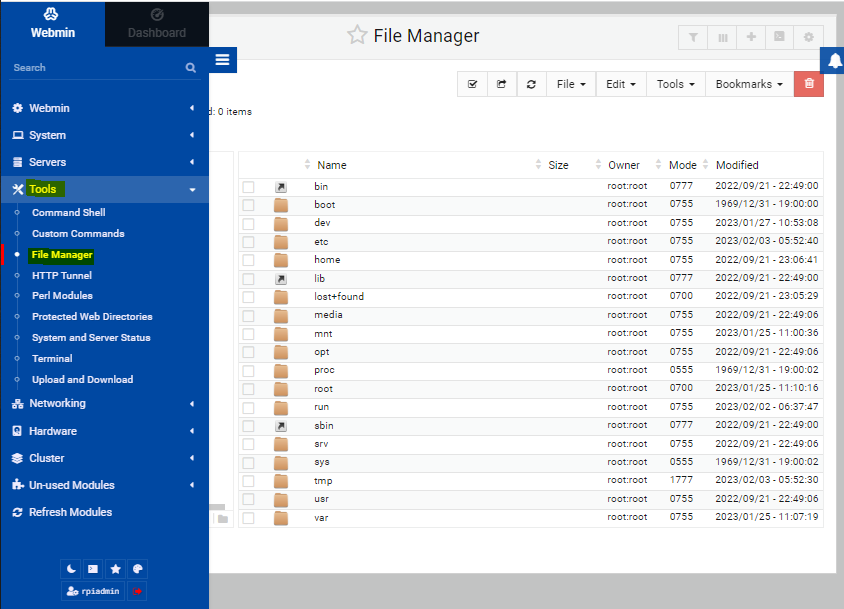
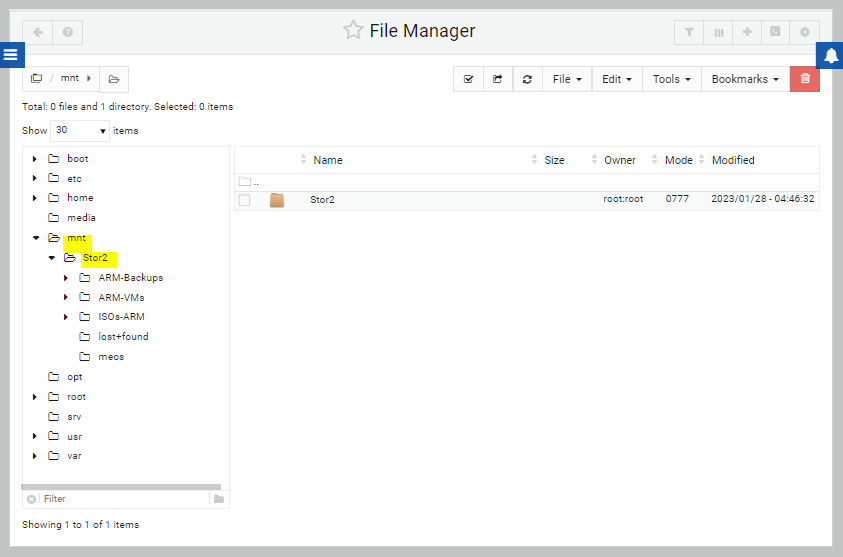
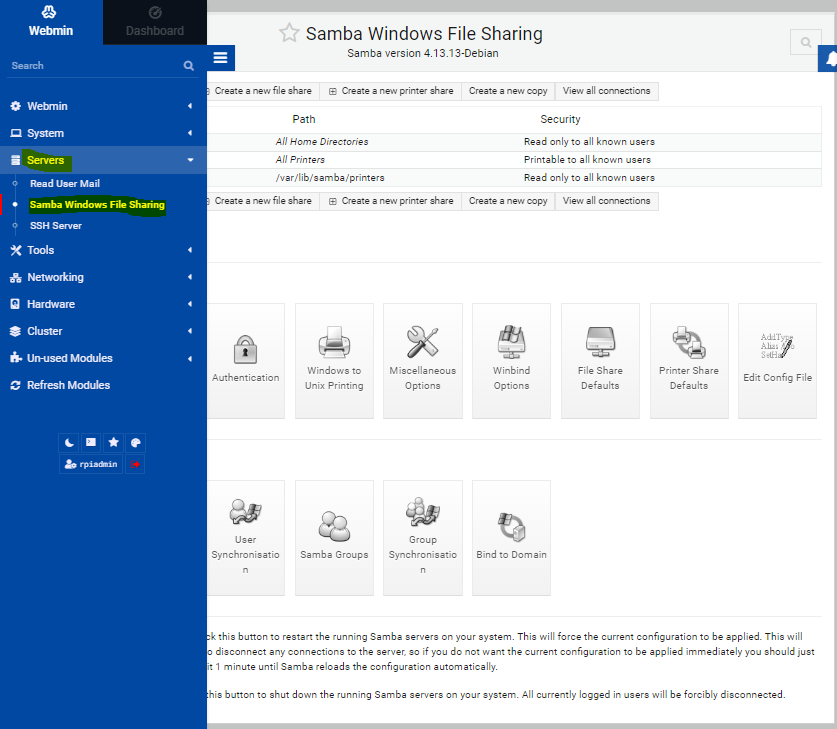
On the left navigation goto Tools>File Manager
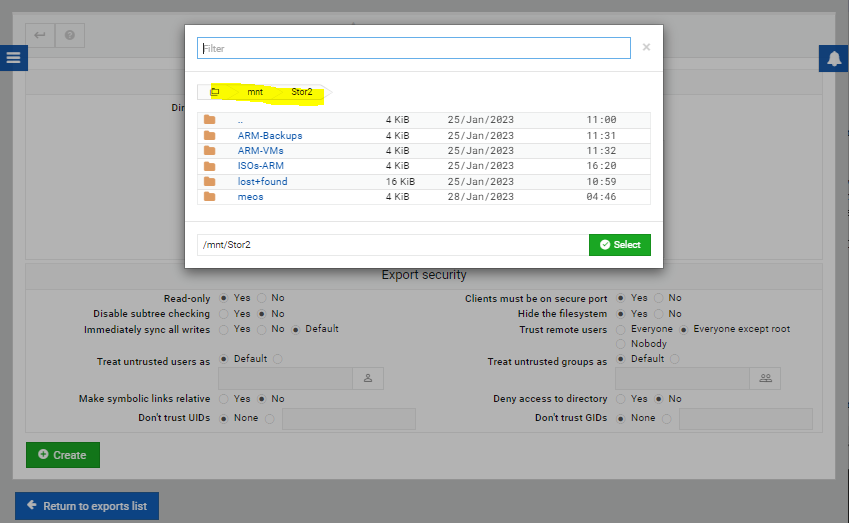
I created my directories under /mnt directory
Mine look like this /mnt/Stor2/dir_name_here
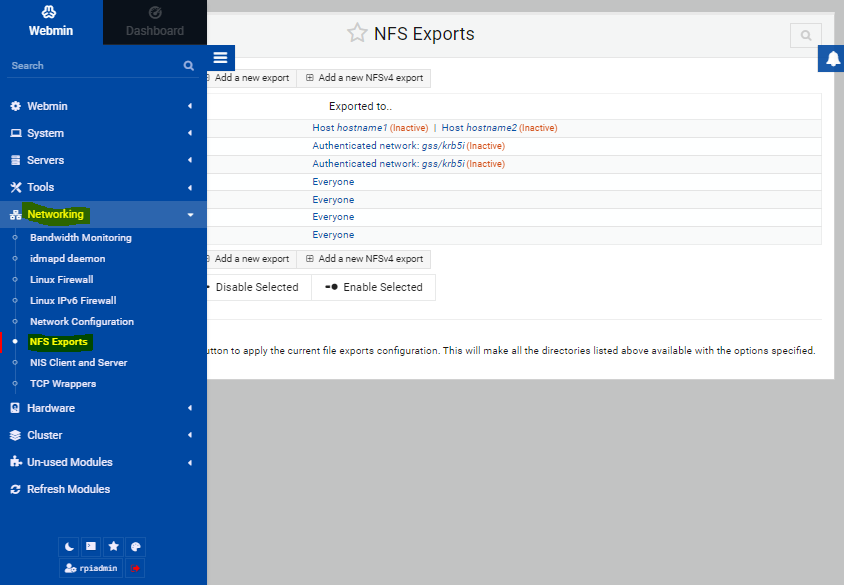
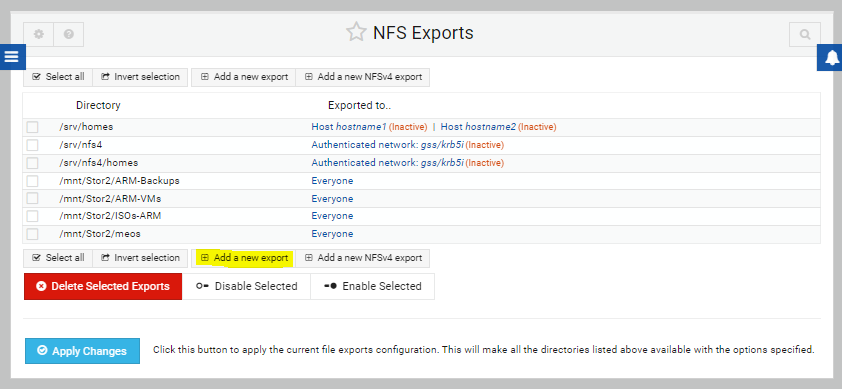
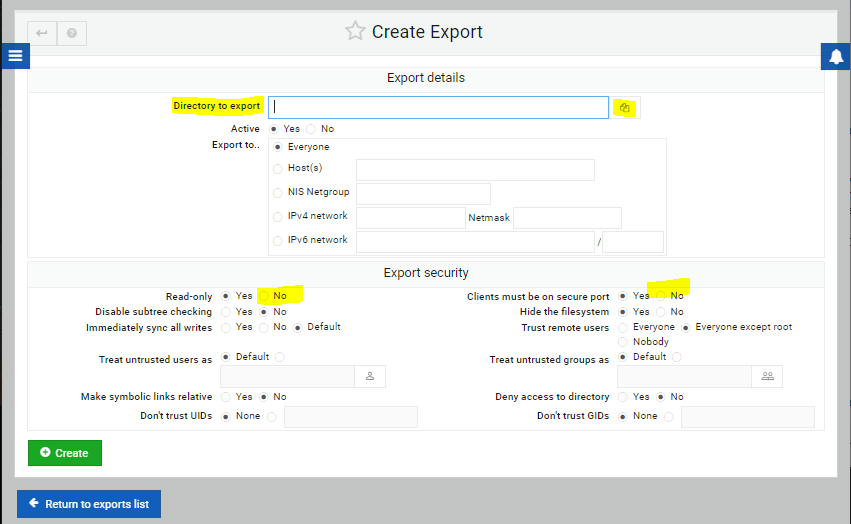
Now we need to share them. I will use NFS here, but I will also give an example smb/cifs/samba.
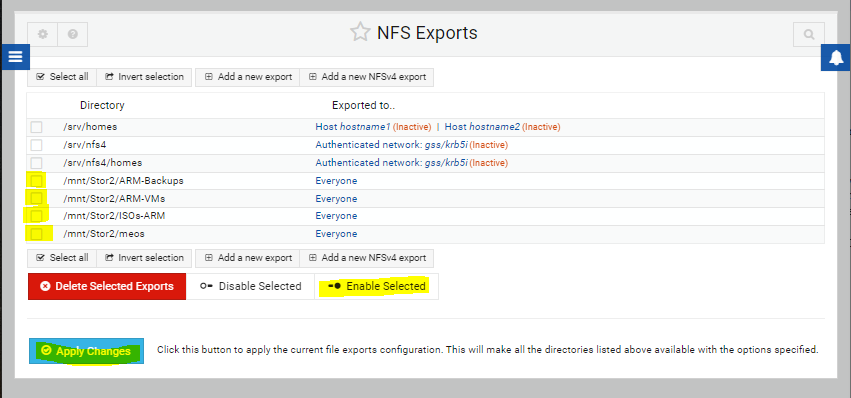
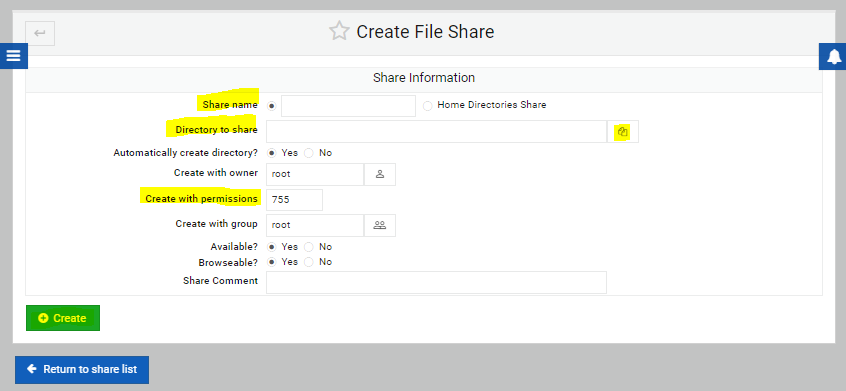
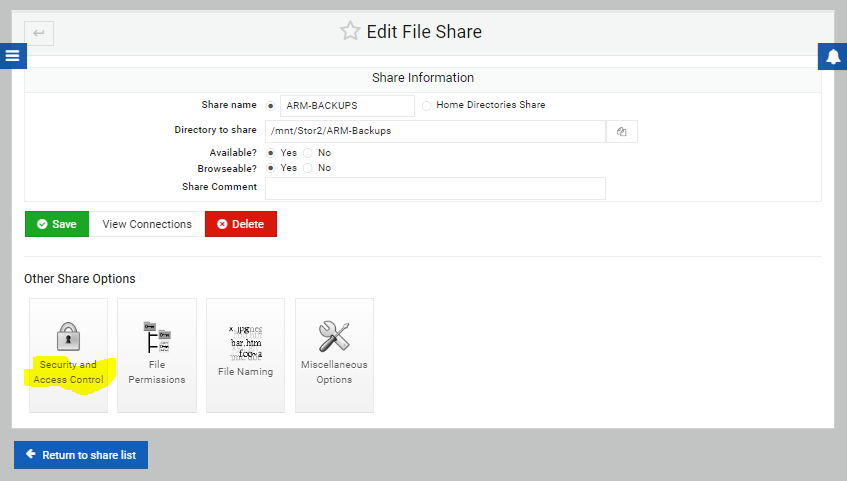
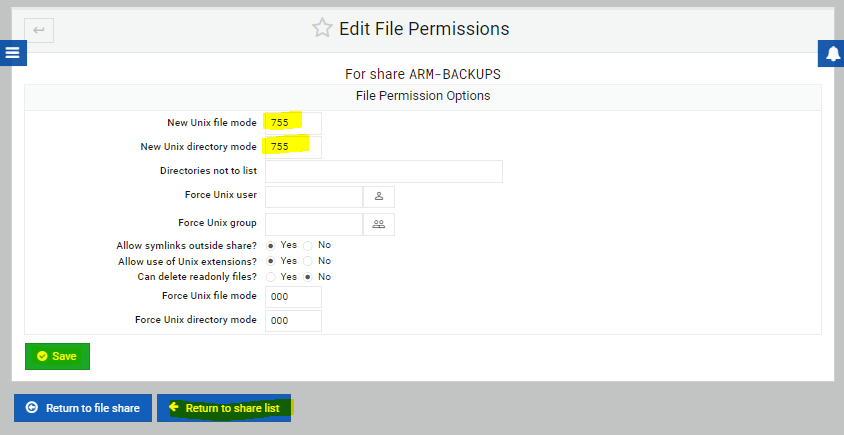
Enable Samba Share
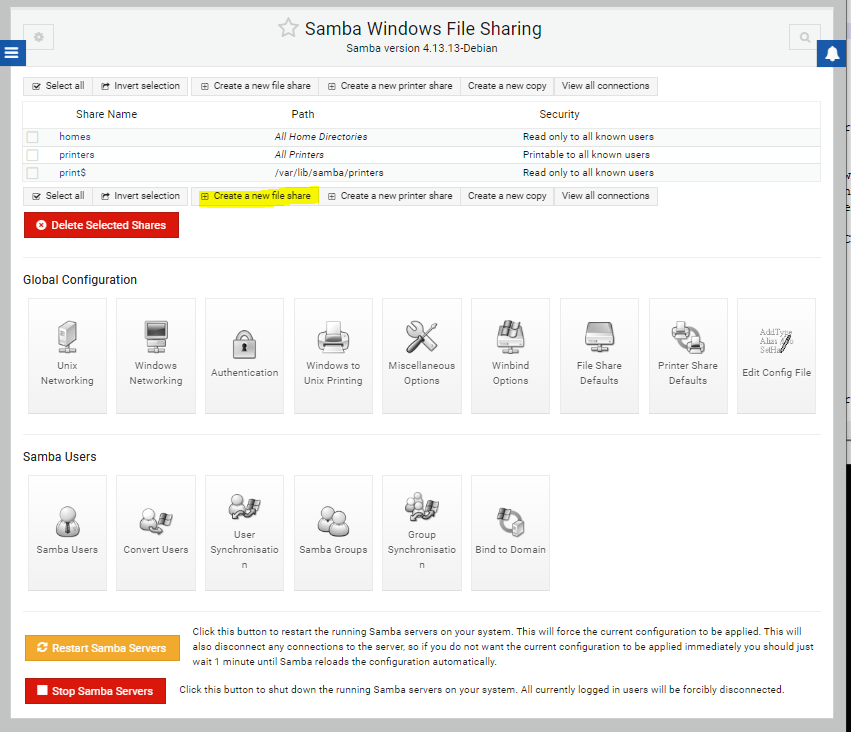


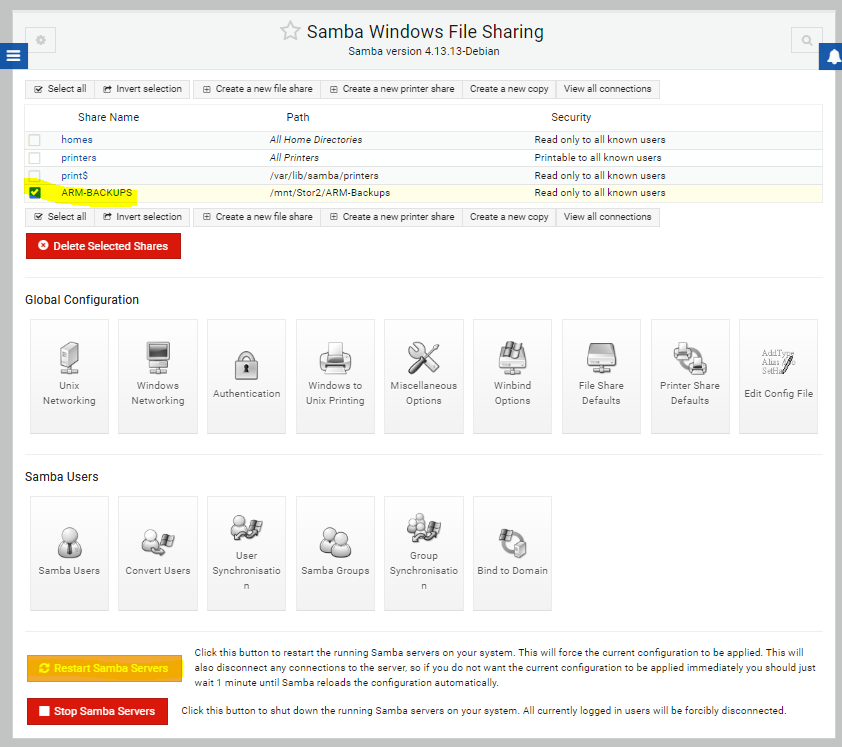
That completes the process for Samba/NFS shares. If you have any questions you can email us support@pihobby.org Also use the comments also if you like.
I will not take credit for The Virtualmin Install part I posted earlier. The individual below gets all the credit. This is per enzochzng on the Raspberry Pi forums, Post is here.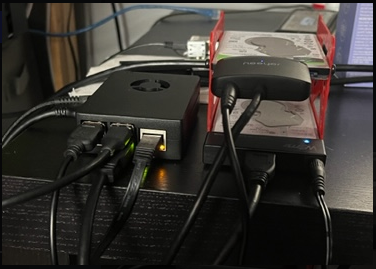
Thank you for reading and stopping by.
[…] So you want to use your SBC/Pi as a NAS and you have no clue how to start or where to start. Well I believe I have a solution for using common ordinary software from the OpenSource community. With this setup you should be able to have shared files in your network/HomeLAB or whatver the case may be. Using RAID via MDADM with iSCSI, NFS, or SMB/CIFS. We try to get you to a point where you do not need anything but your own time. This is a reliable and stable Open Source technology readily available to you on the internet. You can also follow this article if you like it’s slightly different: Build a NAS. […]