

Build a media server in your home library for your whole home/house. I have recently started playing around with media servers to see what they were about because where I hang out every day, they are a buzz about media players trans-coding and such. Me I could careless about the fancy advanced stuff just give me something I play on my TVs when I need it, plain and simple. We are going to give you some instructions on how to make that happen in this article.
Let’s get started:
Pre-Requisites:
– Proxmox Server
– 2 gb of ram.
– at least 30 gb of disk space.
– a NAS with some disk space shared.
note: Acronyms for this are VM (Virtual Machine), CT (Container), SBC (Single Board Computer)
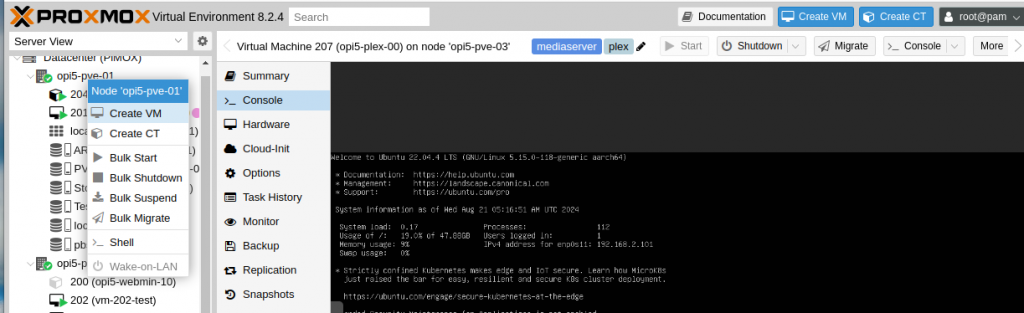
1 – Login to the SBC/VM/CT/Proxmox
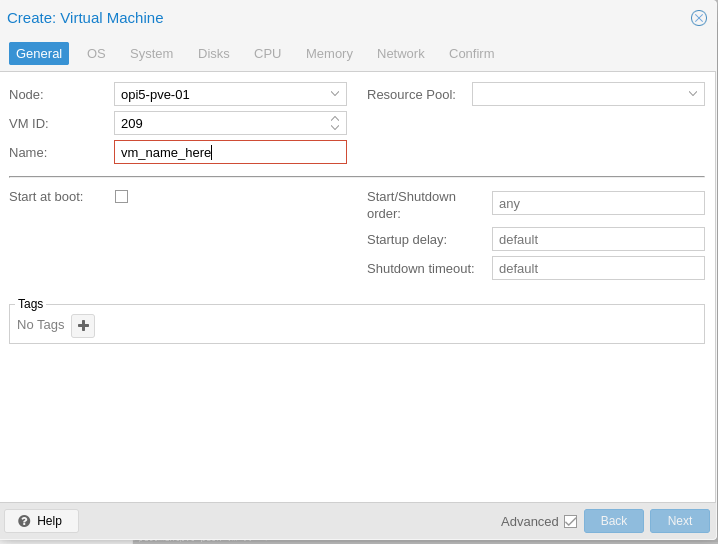
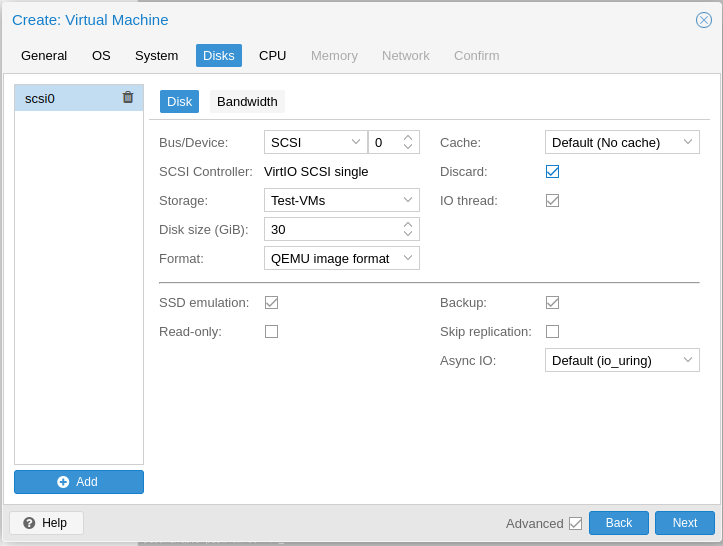
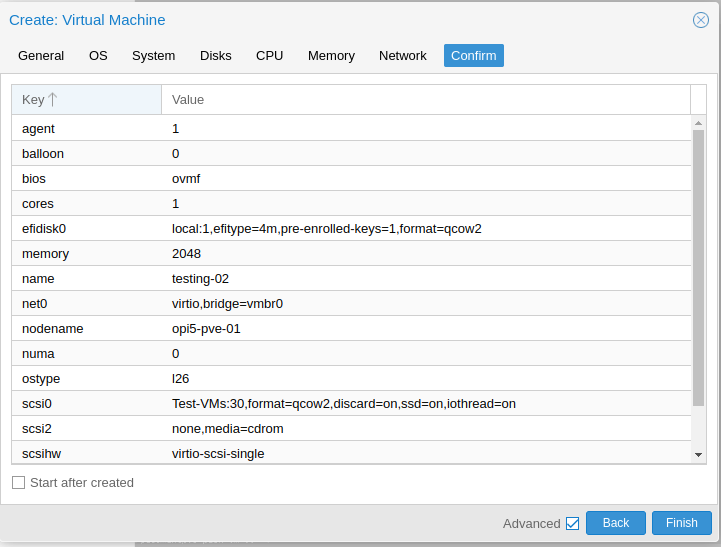
2 – Create VM
3 – VM ID: Unique ID is best mine is 201
4 – Name your vm ex: pve-vm-test <click next>
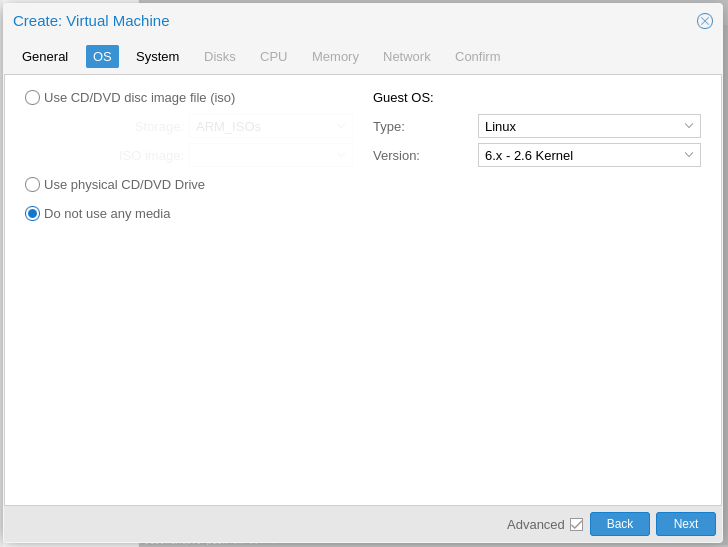
5 – Do not use any media on a SBC. – THIS IS A MUST! On an Intel/AMD Proxmox leave this checked (Use CD/DVD)
6 – Type should be: Linux 6.x <click next>
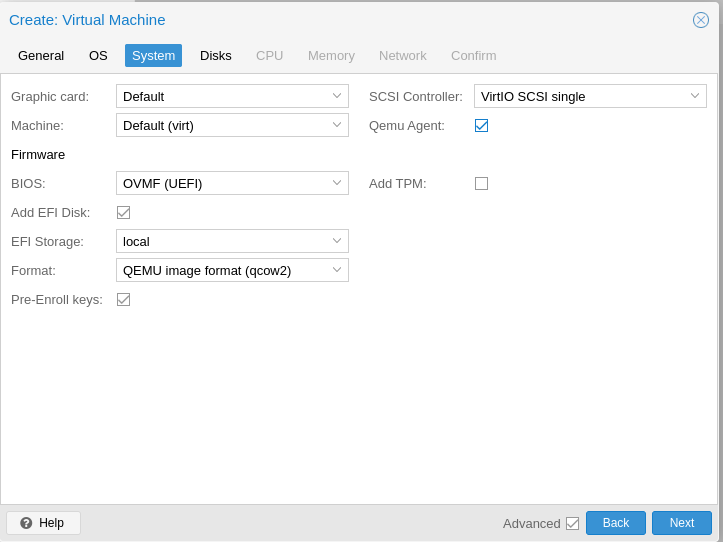
7 – Bios should be OVMF (UEFI) & Choose the EFI Storage I always use local (w/qcow2)
8 – Select Qemu Agent – check box. everything else should be default. <click next>
9 – Select your storage location, Select disk size; You can move this later if you want.
10 – You should use SSD Emulation and Discard but that’s me. <click next>
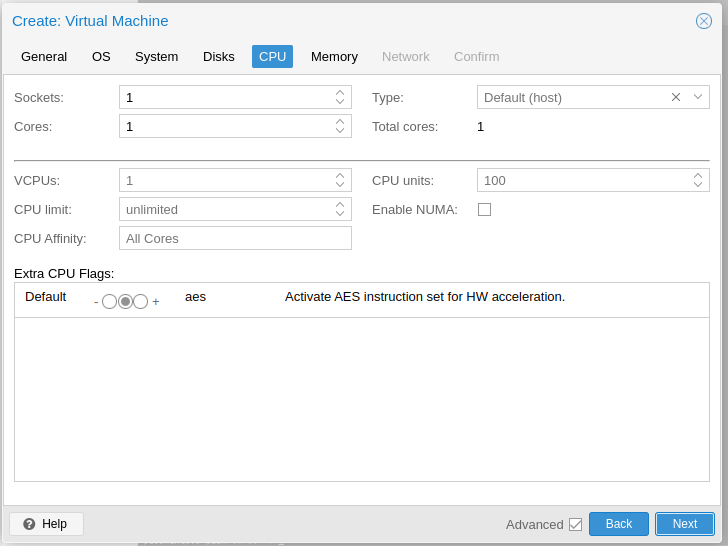
11 – Select your cores: depending on usage select how many you want. Type should be host. Everything else should be default. <click next>
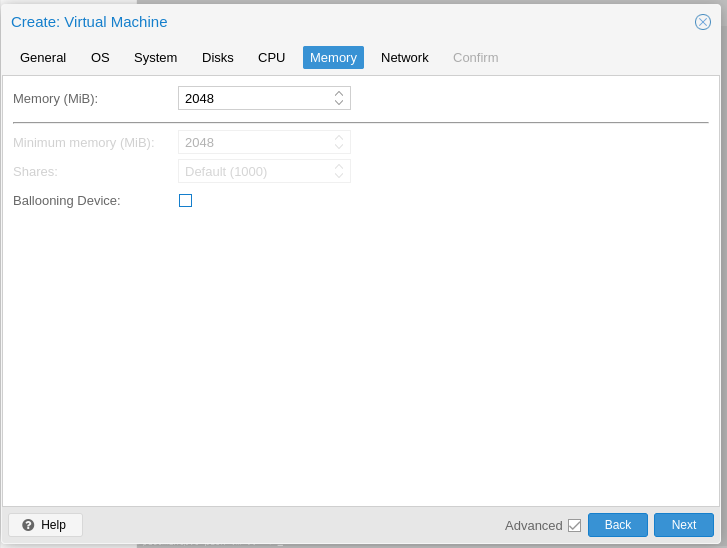
12 – Memory: Your choice here. I use a minimum of 2048 and I uncheck ballooning device.
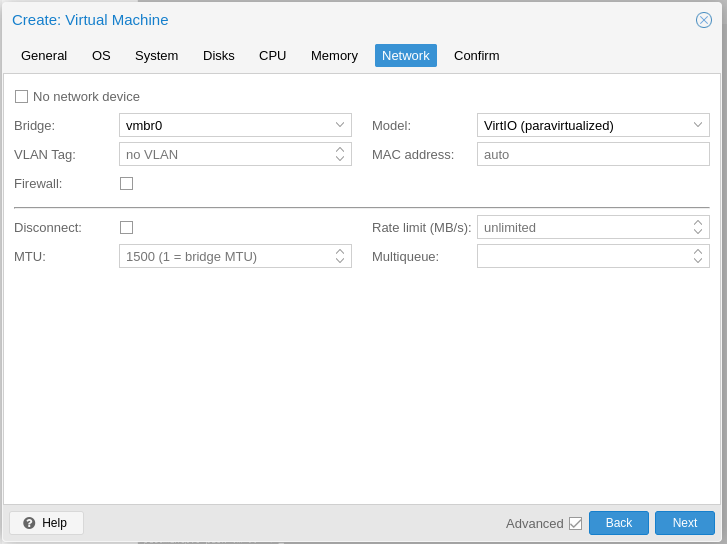
13 – Usually the default nic is a good choice. You should also uncheck firewall, double firewalling is redundant in my opinion.
14 – Now make sure everything is correct then <click finish>
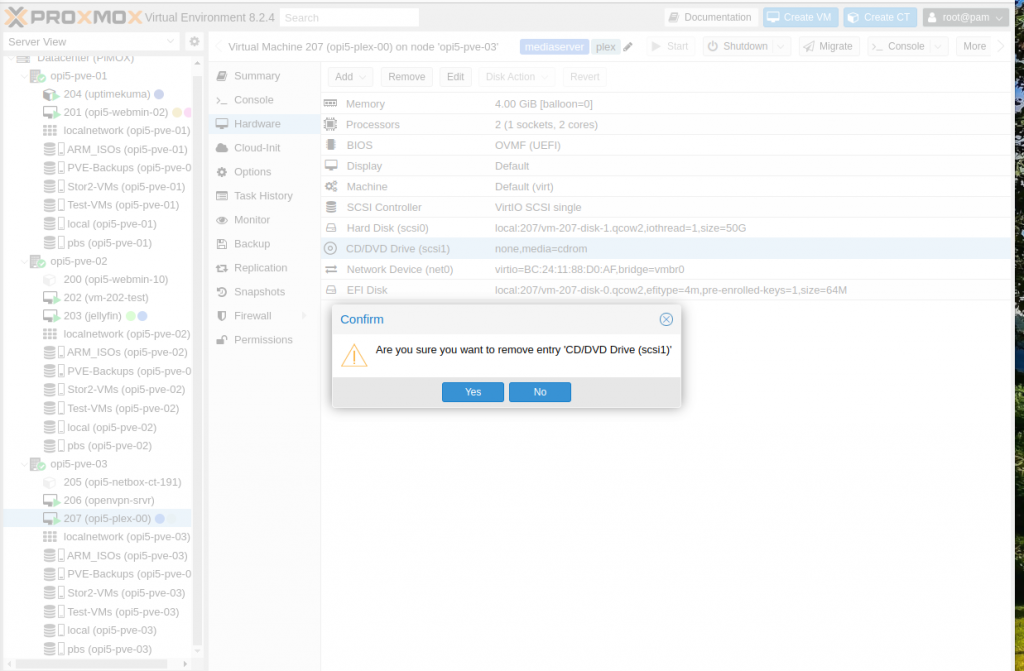
15 – Select/Highlight hardware > CD/DVD Drive > Remove button at top. Then <click Yes>
16 – Then Add button > CD/DVD Drive > Bus/Device: scsi then id > select the 3 as the scsi ID number > storage (Should be where ISOs are stored) – ISO image: the one you want to use goes here. > then click add the button.

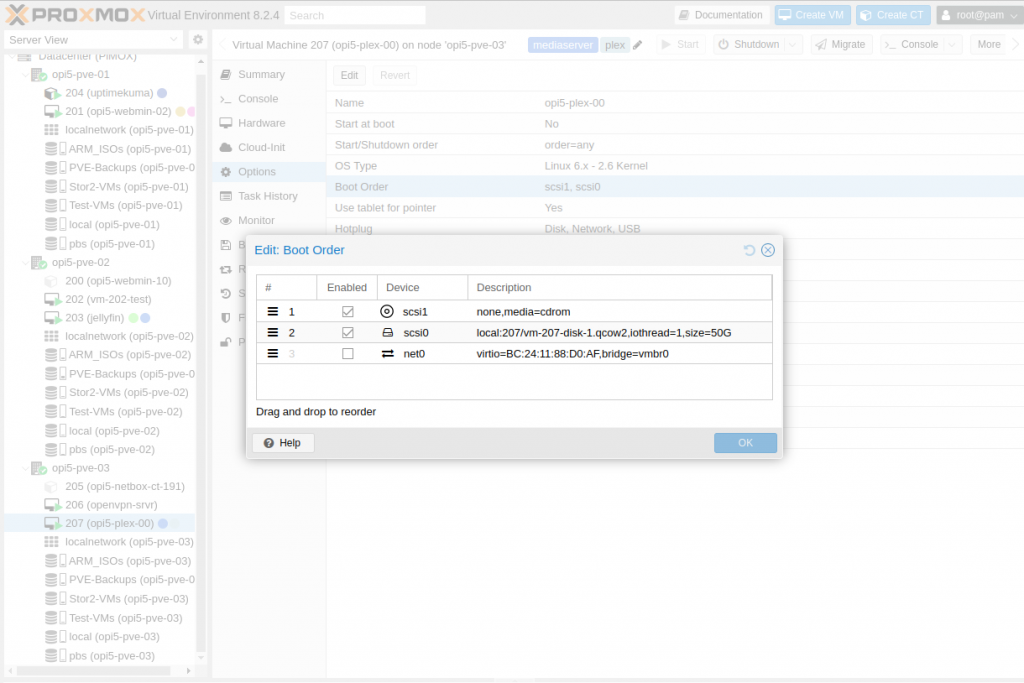
17 – Options > Select Boot Order > then the Edit button at the top > uncheck net0
(Unless you are using PXE Boot) and move iSCSI CD to the top.
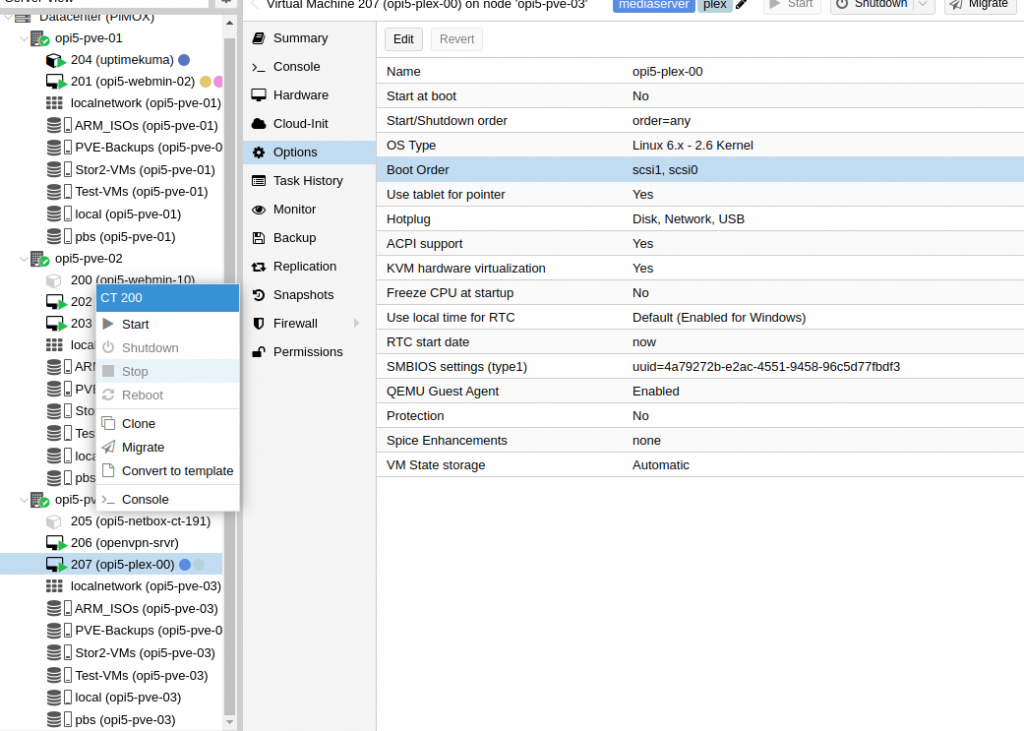
18 – Highlight the VM > right click > then start:
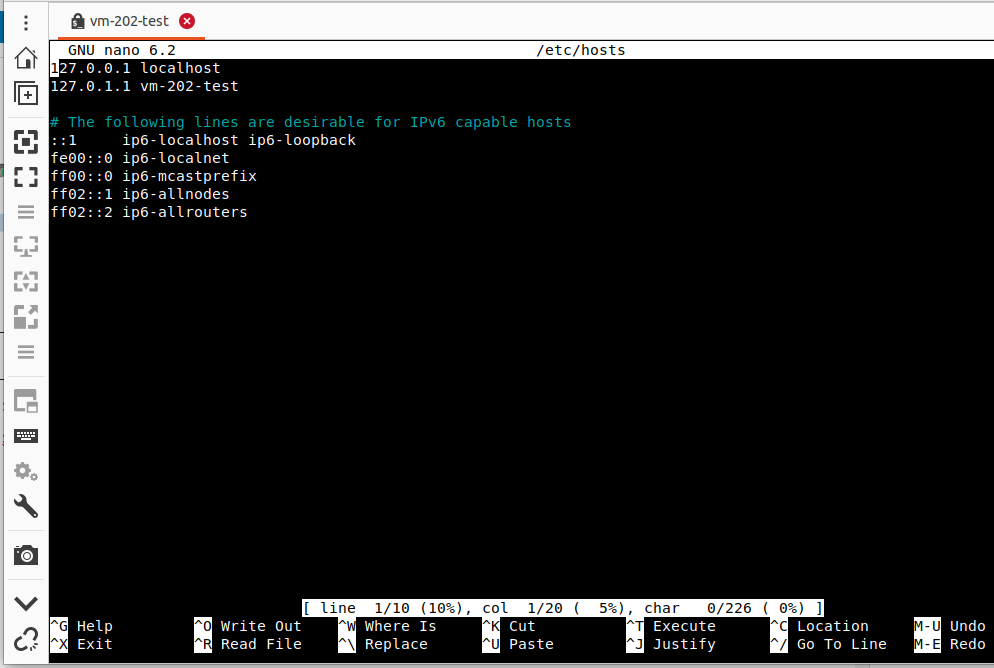
19 – ssh in to the server
20 – sudo nano /etc/hosts
put an ip address here for your host
example: 192.168.100.10 vm-202-test.pihobby.loc vm-202-test
21 – sudo nano -c /etc/netplan/00 or 50 and <tab out> <press enter>

network:
    ethernets:
        enp0s3:
            dhcp4: false
            addresses: [192.168.1.202/24]
            gateway4: 192.168.1.1
            nameservers:
              addresses: [8.8.8.8,8.8.4.4,192.168.1.1]
    version: 2
22 – sudo netplan apply <press enter>
note: We need to prepare for Plex install. Let’s create some directories: the curly brackets allow you to create multiple directories.
23 – sudo mkdir -m 777 -p /mnt/{Movies,Shows,Music}
note: Let’s change the owner so anyone can use it.
24 – sudo chown -R nobody:nogroup /mnt/{Movies,Shows,Music}
note: Let’s make the mounting of shares permenant and start up at boot/reboot.
25 – sudo nano -c /etc/fstab## Mount Media Server Movies Drive ##
192.168.0.11:/media/Stor4/files/Movies /mnt/plex/Movies/ nfs defaults 0 1
## Mount Media Server Music Drive ##
192.168.0.11:/media/Stor4/files/Music /mnt/plex/Music/ nfs defaults 0 1
## Mount Media Server Shows Drive ##
192.168.2.11:/media/Stor4/files/Shows /mnt/plex/Shows/ nfs defaults 0 1
note: Let’s update the the Repositories and the OS/Software packages
27 – sudo apt -y install apt-transport-https curl wget net-tools vim nano nfs-common
note: Mount the NFS/SMB-CIFs shares.
28 – sudo mount -a
note: Let’s Install Plex, first we add the Repository & the GPG Keys for the repository
29 – sudo curl https://downloads.plex.tv/plex-keys/PlexSign.key | sudo apt-key add –
30 – sudo echo deb https://downloads.plex.tv/repo/deb public main | sudo tee /etc/apt/sources.list.d/plexmediaserver.list
note: Let’s update the system
31 – sudo apt-get update
note: Install Plex
32 – sudo apt -y install plexmediaserver
33 – https://server_ip:32400/manage