
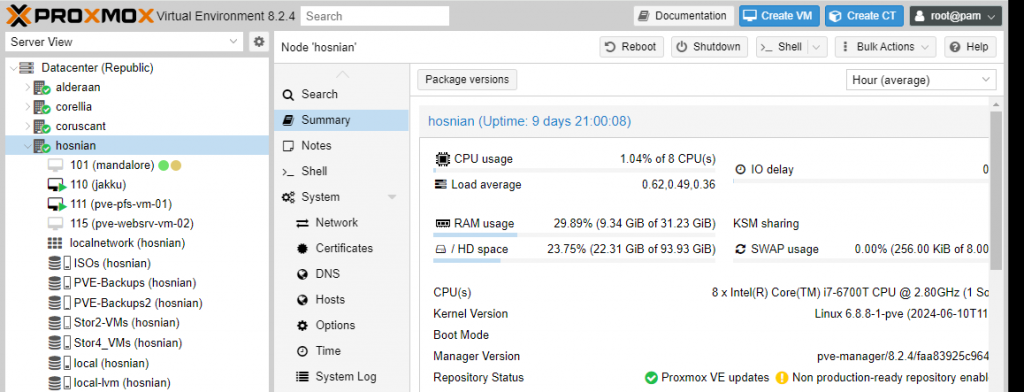
OpenWrt (from open wireless router) is an open-source project that is an OS for creating and building your own router/firewall. It is also used for being able to embed the OS on an already existing hardware router device to research and test. I will show you how to deploy OpenWRT into a Proxmox VM so you can have a Virtual router. This was installed on an INTEL/AMD Proxmox host. I will be posting an article soon that is an exclusive install on a Raspberry Pi 4 – CM4 on a seeedo dual gb NIC companion board also, I will post an article or make references to installing on a RPi4 sbc with one NIC.
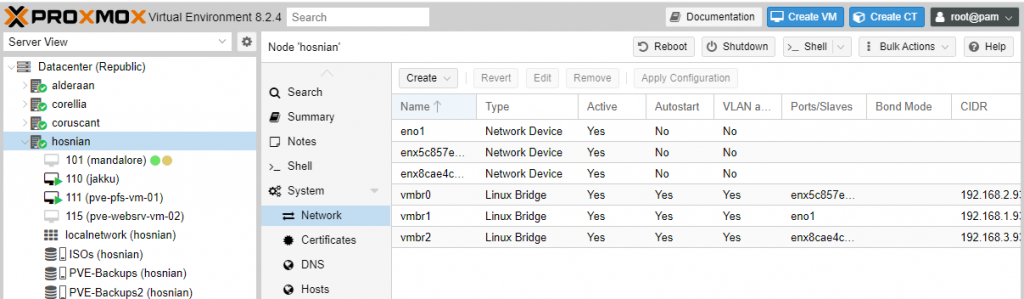
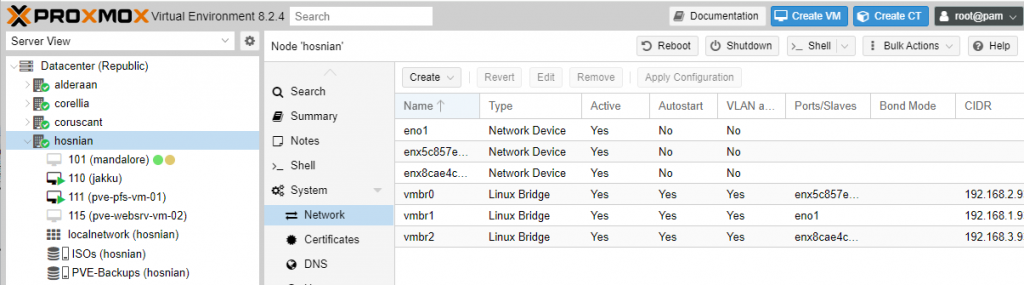
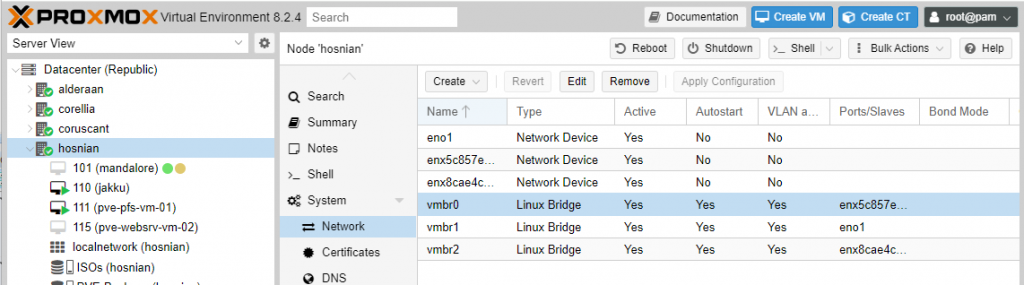
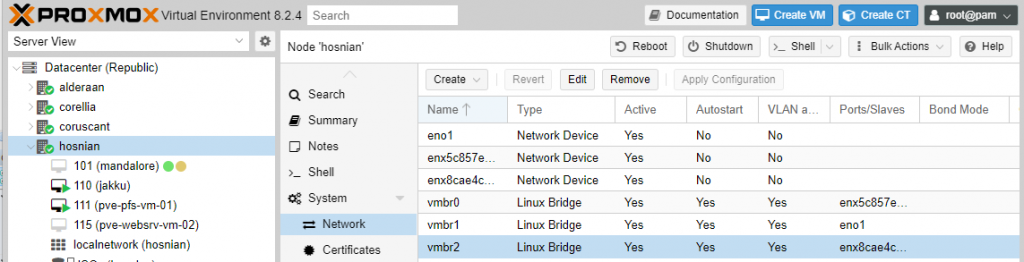
Let’s get the Network ready for the VM
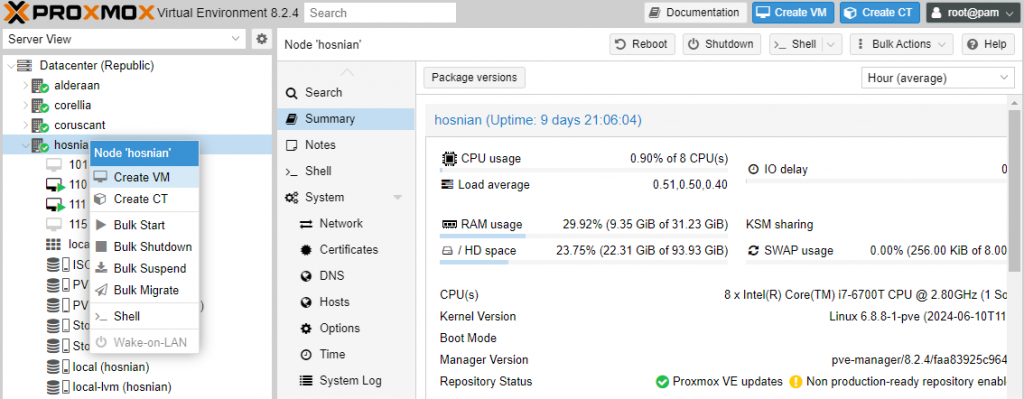
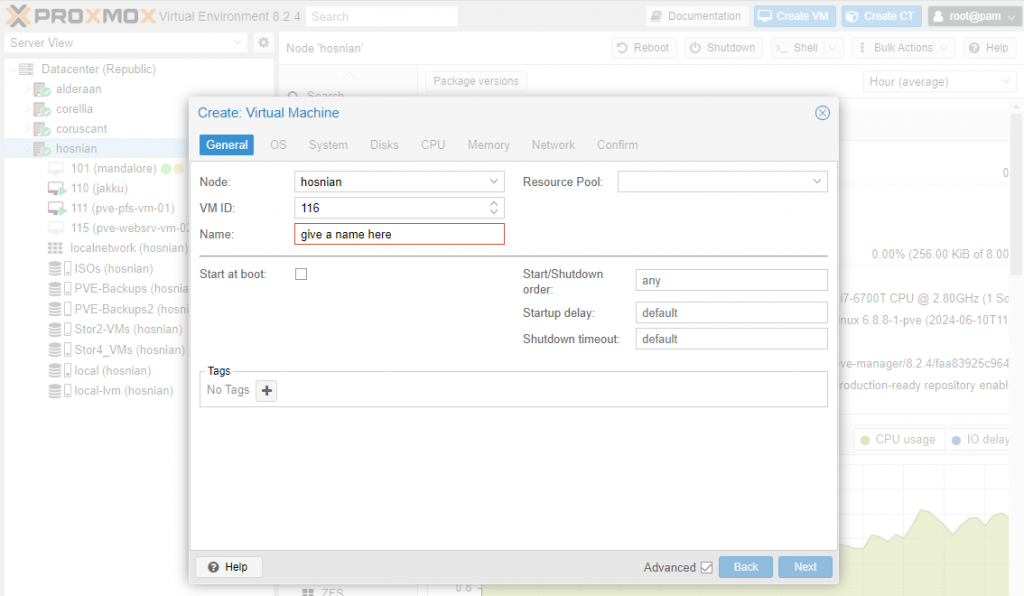
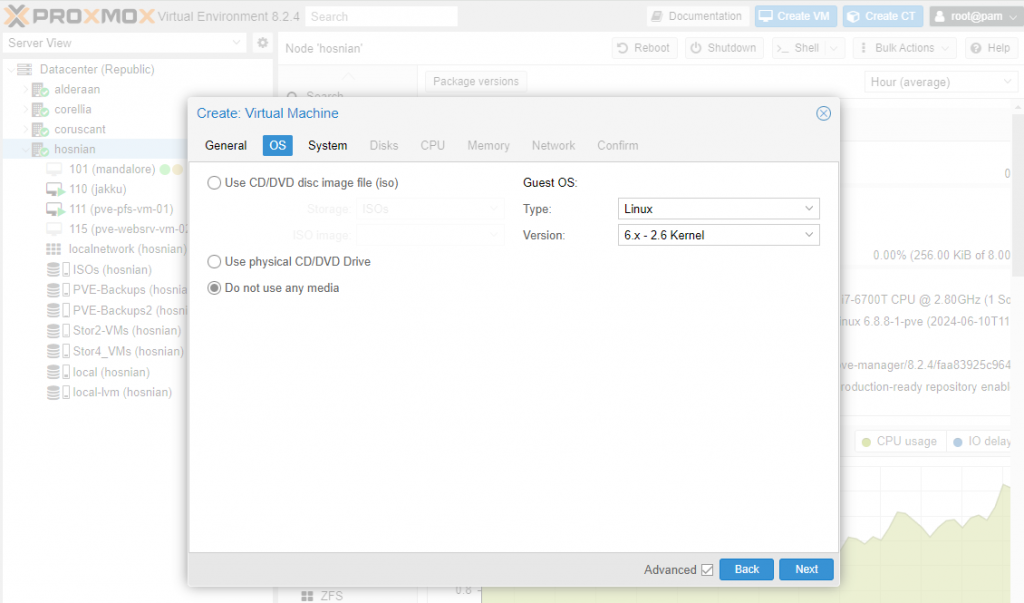
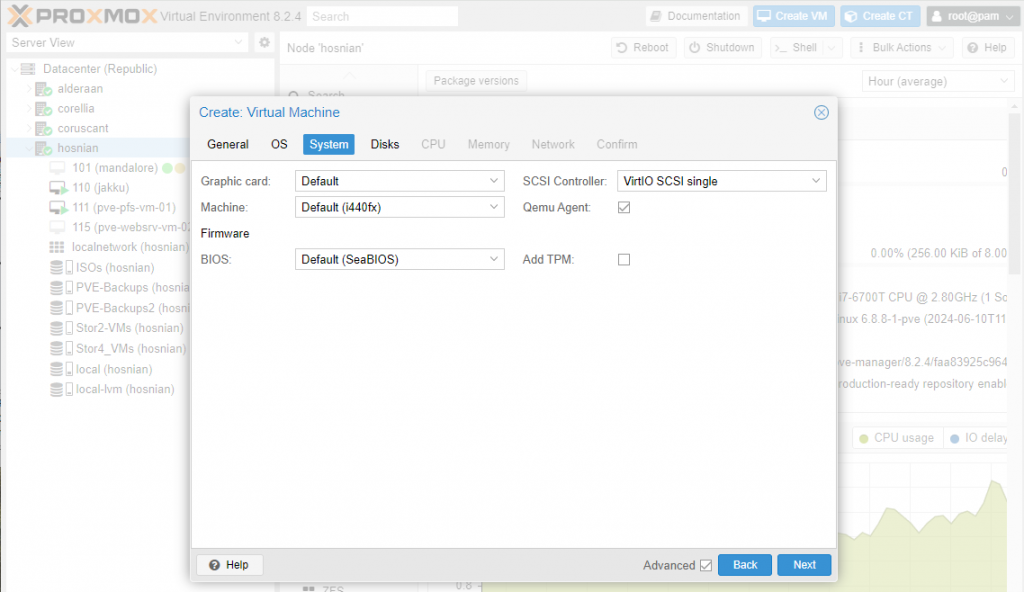
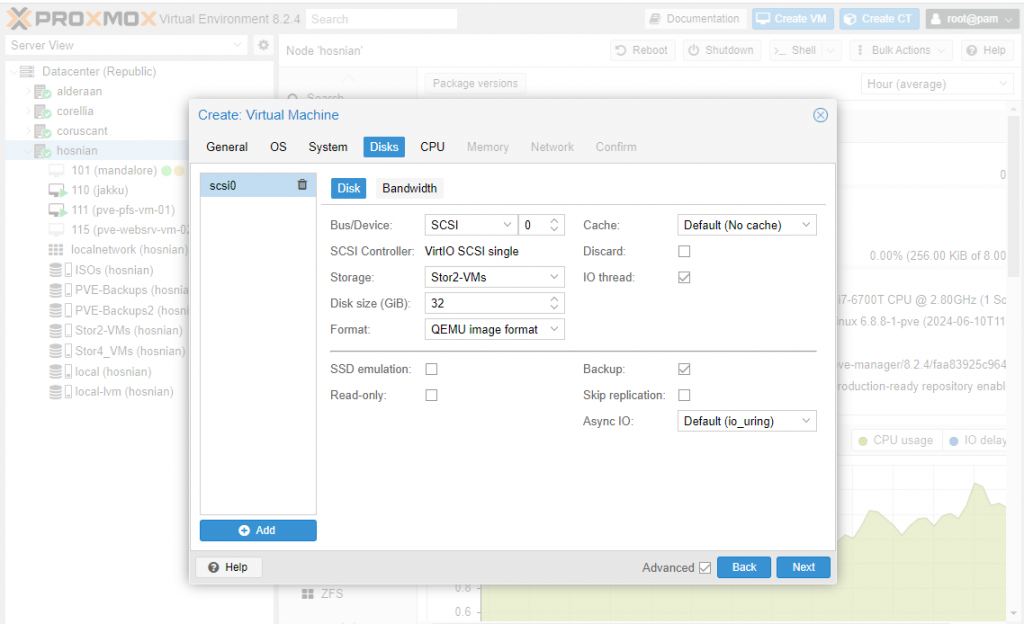
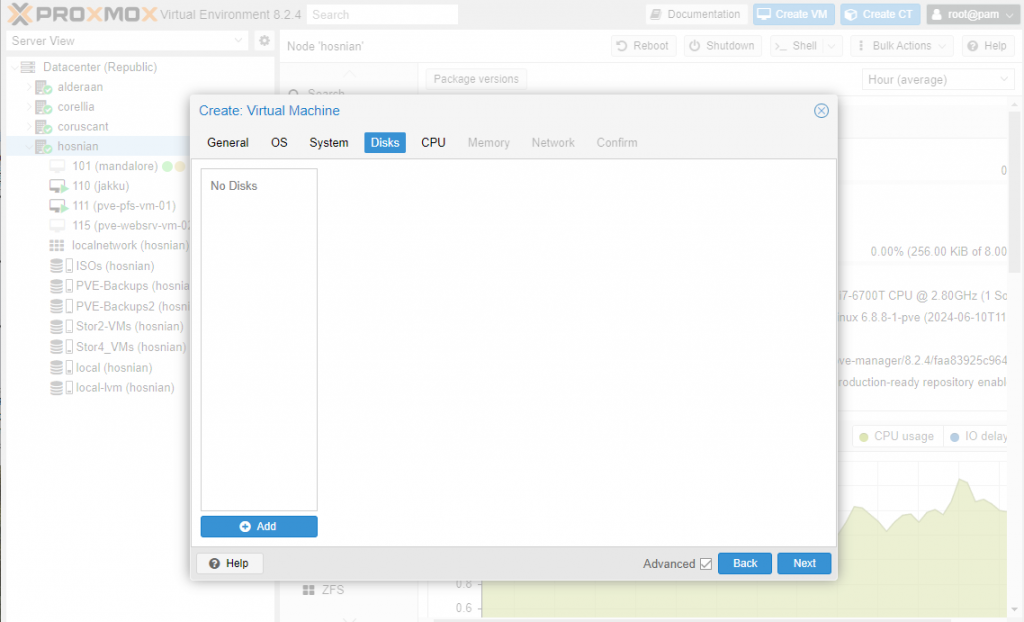
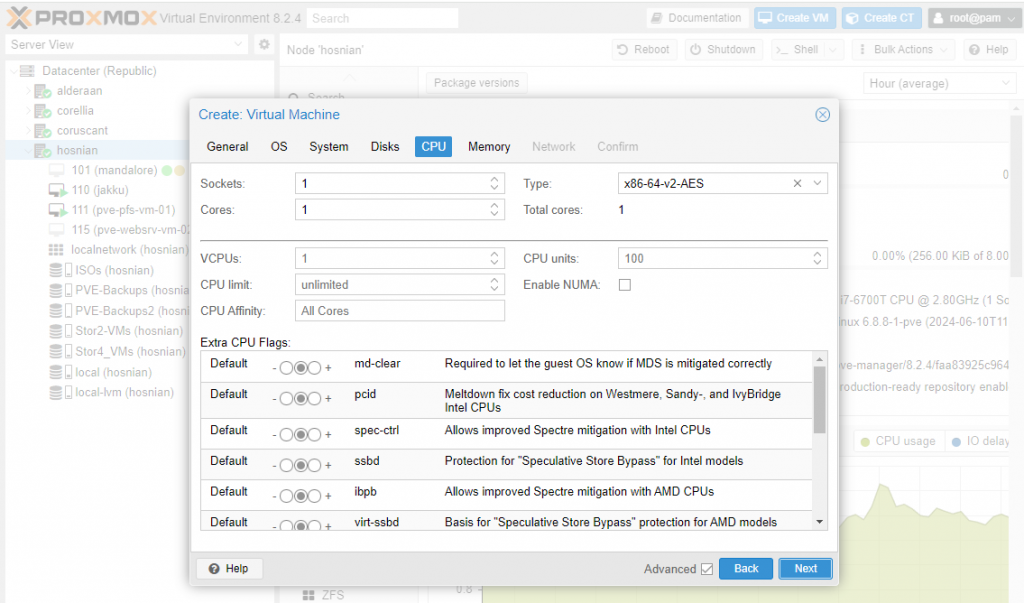
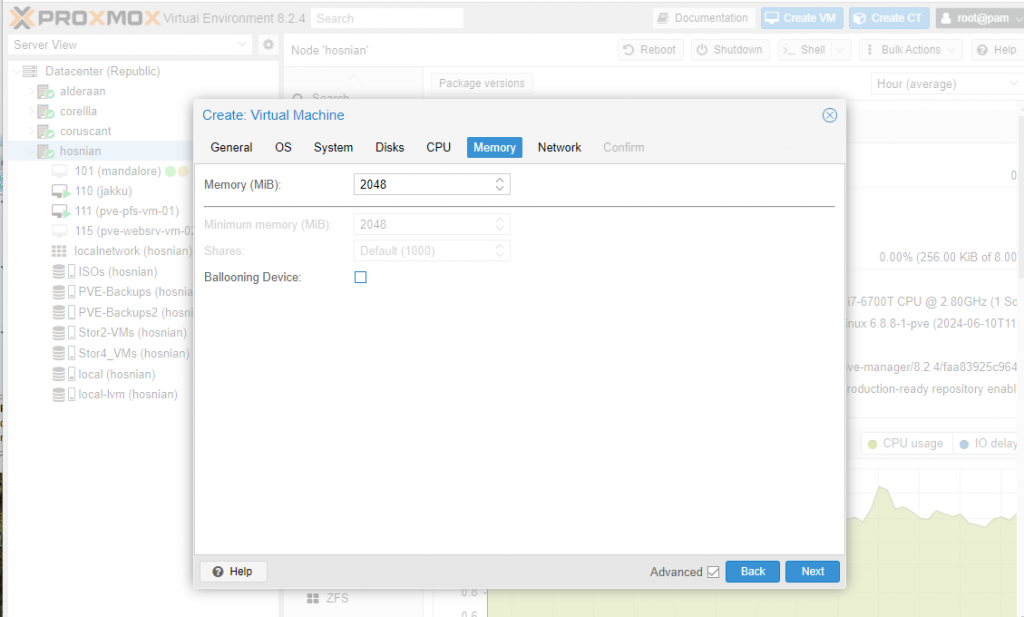
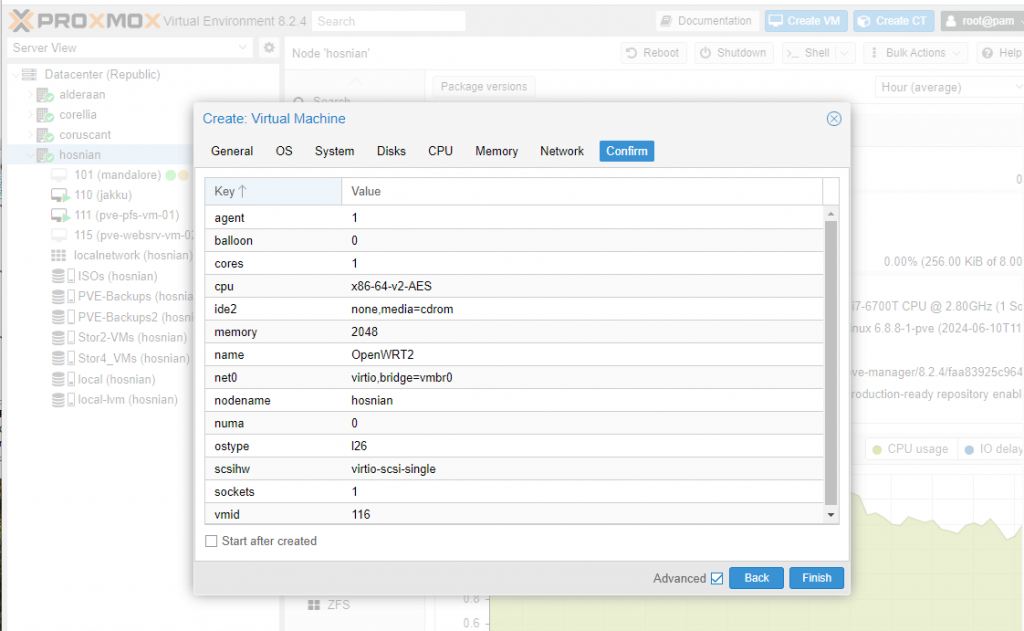
Let’s Create the actual VM
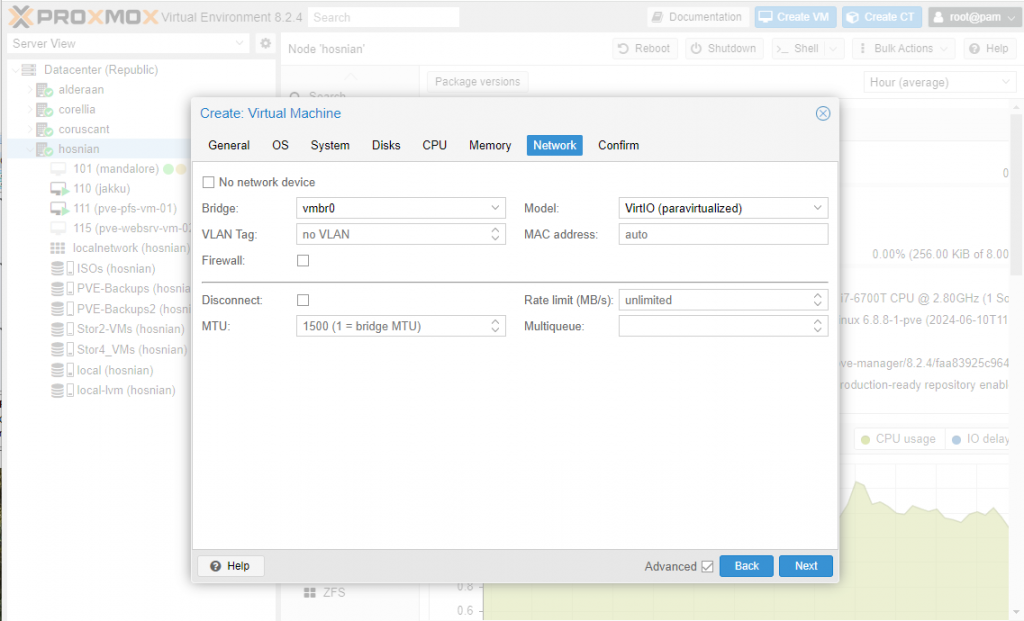
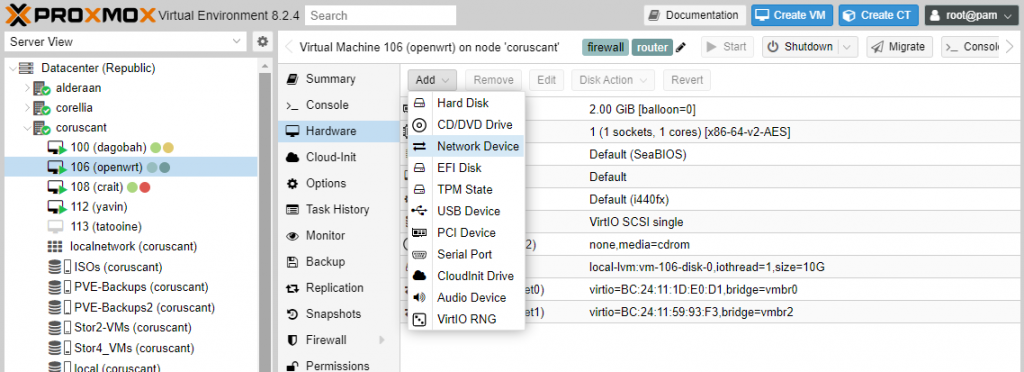
Let’s add the WAN nic to the VM
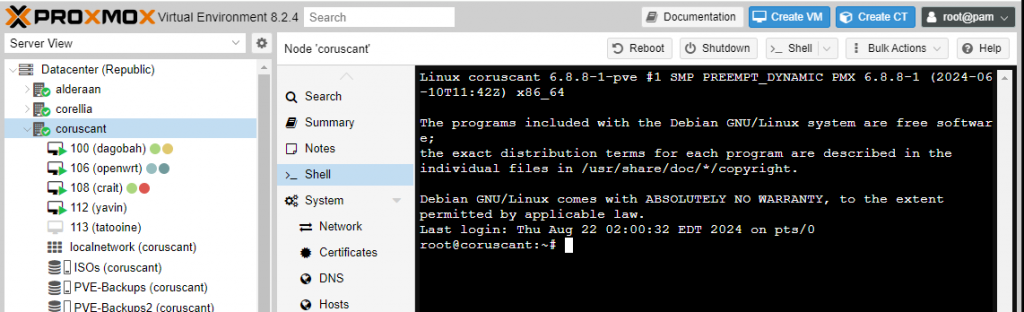
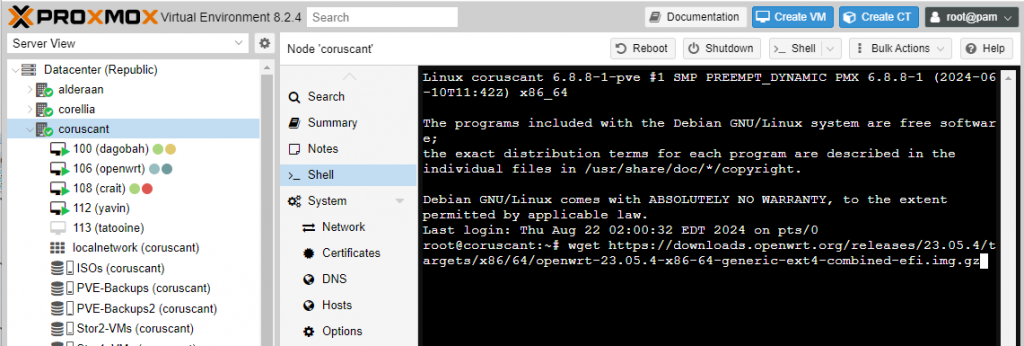
Download OpenWRT image
uncompress the image for use on the system
20 – gunzip openwrt-23.05.4-x86-64-generic-ext4-combined-efi.img.gz
Rename the disk
21 – mv openwrt-23.05.4-x86-64-generic-ext4-combined-efi.img ./openwrt.raw
Resize the image/disk
22 – qemu-img resize -f raw ./openwrt.raw 10G <- This can be whatever size you need.
Import the disk into the VM
23 – qm importdisk <vm-id> openwrt-23.05.4-x86-64-generic-ext4-combined-efi.img local-lvm
Let’s attach the disk to the VM
24 – highlight the VM > then hardware > double click the Unused Disk 0 > Click add
25 – Select Options > boot order > check iscsi (uncheck all others) > move the iscsi to the top (drag and drop) > click ok
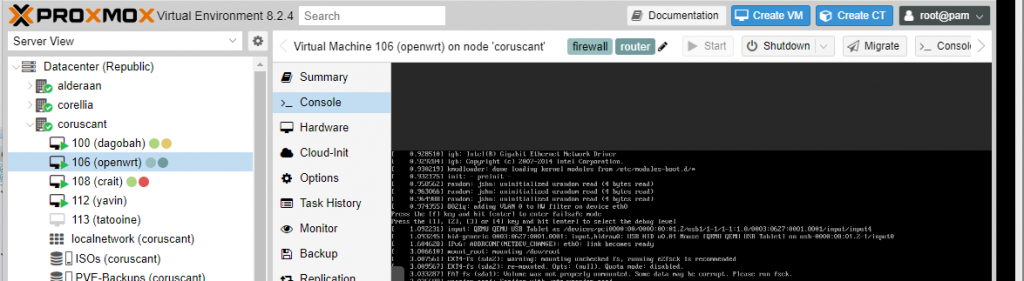
26 – right click the VM >_ Console > start
27 – OpenWRT installation
29 – passwd (enter a new password)
The System is Ready
30 – Press Enter
The System is Ready
31 – uci set network.lan.ipaddr=’Lan_IP_Here’ <- ie. 192.168.30.1
This is an alternative way to change the ip;
Edit the Lan IP address in vi /etc/config/network
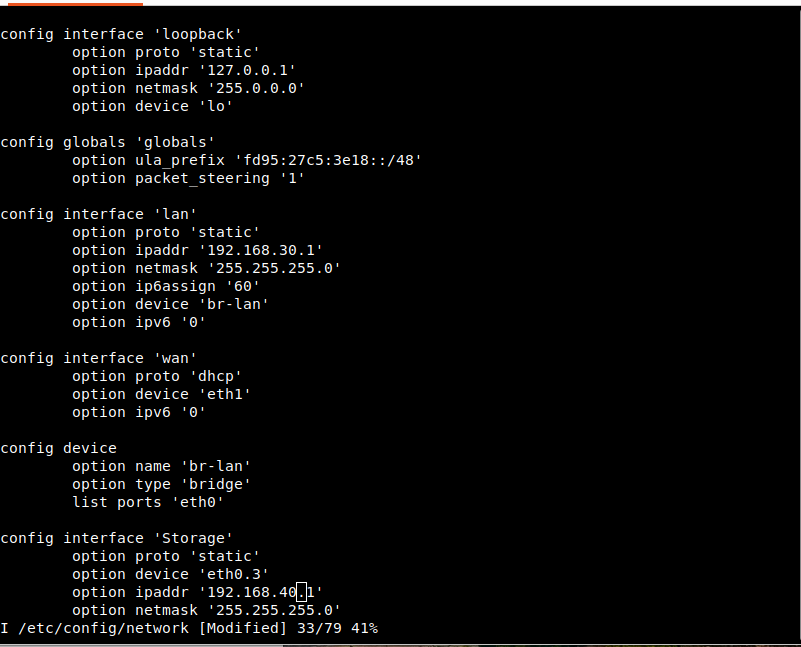
and save the file with the esc key to exit edit mode, then wq! to write and save the file. Then restart the Network. Here is a guide for using vi cli editor
32 – service network restart
Update all Packages, & Install the GUI.
33 – opkg update
34 – opkg install luci
I really hoped you learn something in this article. I know I worked at it. I installed/deployed it about 10 times to make sure every step worked. If you need anything or help feel free to contact us at support@pihobby.org. Have a magnanimous day. Thank you for reading.
Why is this article, while saying the installation is on a Pi, pictures show the installation is being made on an Intel processor?
Also in the last paragraph why are you saying that you installed it “0 times”…is this a joke?
Sorry (0 times) was a misprint/post, it should have been (10 times). I have fixed the error. Trust me – I have installed this thing several times both on Raspberry Pi 4 and Raspberry Pi 5 and on both an Intel/AMD PC/VM and an ARM sbc unit. Sorry if it confused you. I will clean it up soon to be more clear. There will be more articles coming regarding this topic.
Thanks for reading/coming by.