As far as the install goes, This will take longer on a Pi than on a regular PC so please be patient. PIs do not have the same processing power as PCs but you can learn and have the same technology as it’s Big Brother Counter Part. A couple things I noticed is 1 – the CPU is not recognized in the system information. However the kernel s recognized as an ARM kernel. I found that a little strange. I did not try the Docker at all or any plugins to this point. At a later time I will try to test some more of the functionality. I was just really surprised I was able to get it to work on this platform. If you have any ideas let me know what they are if I have time I will see if I can test it out.
Let’s get this party started, this can be a VM or a physical SBC:
1 – Install the OS in this article I will use Debian 12.8 net install.
note: Let’s get the install script for OMV7
2 – wget -O – https://raw.githubusercontent.com/OpenMediaVault-Plugin-Developers/installScript/master/preinstall
3 – ls -al
note: Look for the install.sh script. Look near the bottom. Yours may not be exactly like this just look for the install.sh

4 – nano -c install.sh
!/bin/bash
# this script should be run when instructed to.
export DEBIAN_FRONTEND=noninteractive
export APT_LISTCHANGES_FRONTEND=none
export LANG=C.UTF-8
export LANGUAGE=C
export LC_ALL=C.UTF-8
apt-get –yes –no-install-recommends install jq
mac=”$(ip -j a show dev <nic_name_here> | jq -r .[].address | head -n1)”
if [ -z “${mac}” ]; then
mac=”$(ip -j a show dev eth0 | jq -r .[].address | head -n1)”
fi
if [ -n “${mac}” ]; then
echo “mac – ${mac}”
echo -e “[Match]\nMACAddress=${mac}\n[Link]\nName=<nic_name_here>” > /etc/systemd/network/10-persistent-eth0.link
echo “Please reboot the system now.”
fi
exit 0
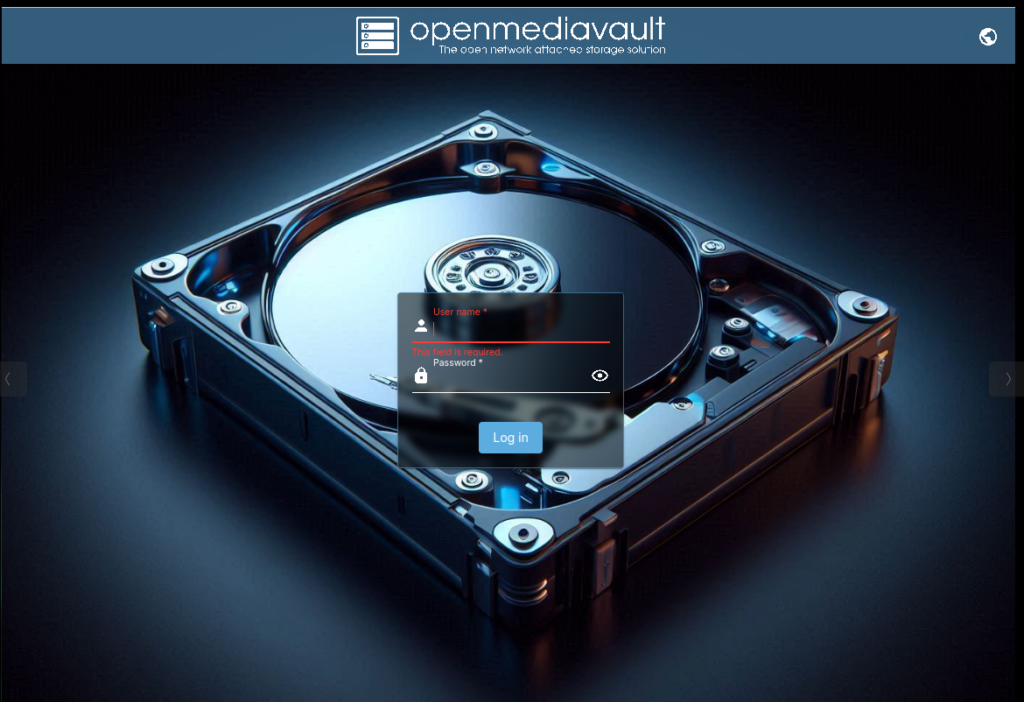
note: Log into OMV7 with username: admin & password: openmediavault.
5 – https://omv7_ip_here
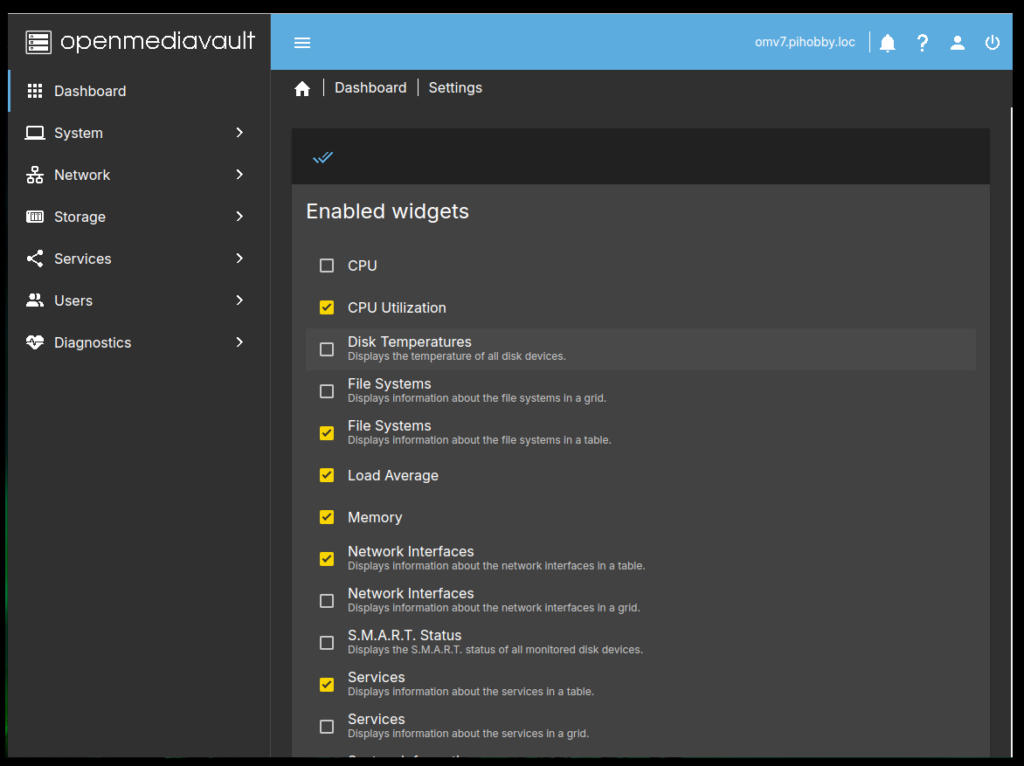
6 – Setup your dashboard the way you want it. Go to the User Profile on the right top of the page. Click on dashboard. When you are finished with your choices click on Save at the bottom.
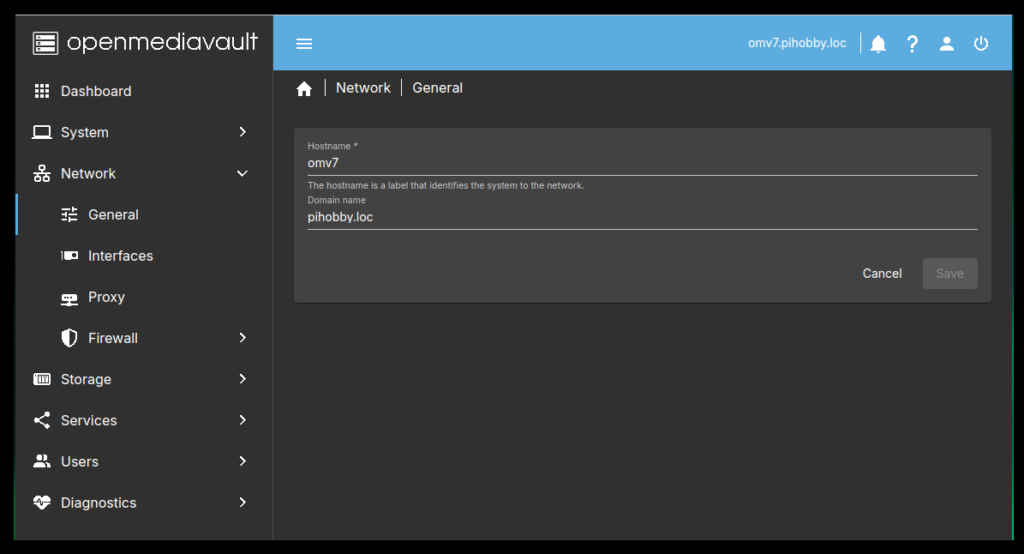
7 – Goto Network (Left Navigation) > Interfaces > click on your nic_name > Then hostname > enter a hostname.
8 – Highlight the Nic > Click the Edit (pencil at the top)
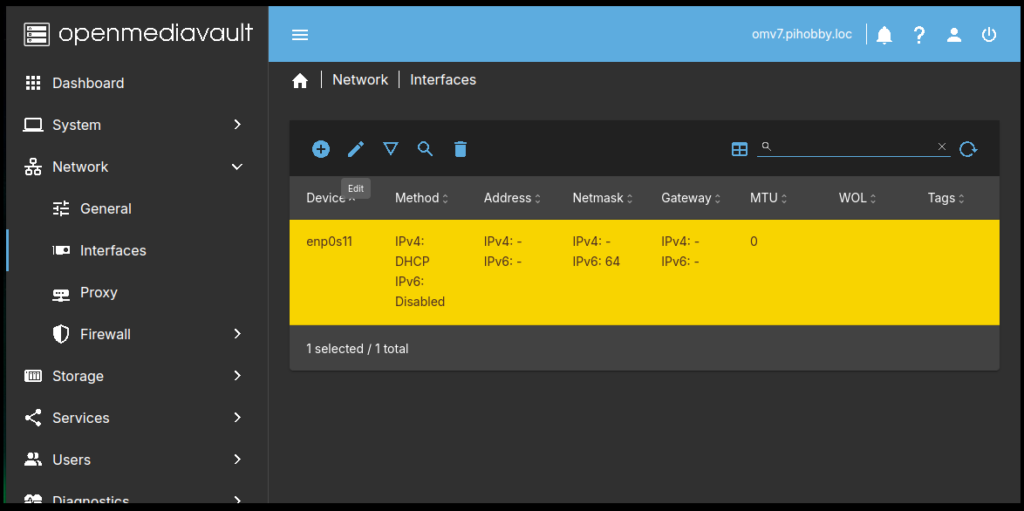
9 – Under IPv4 Change Method to Static (Use the Drop Down)
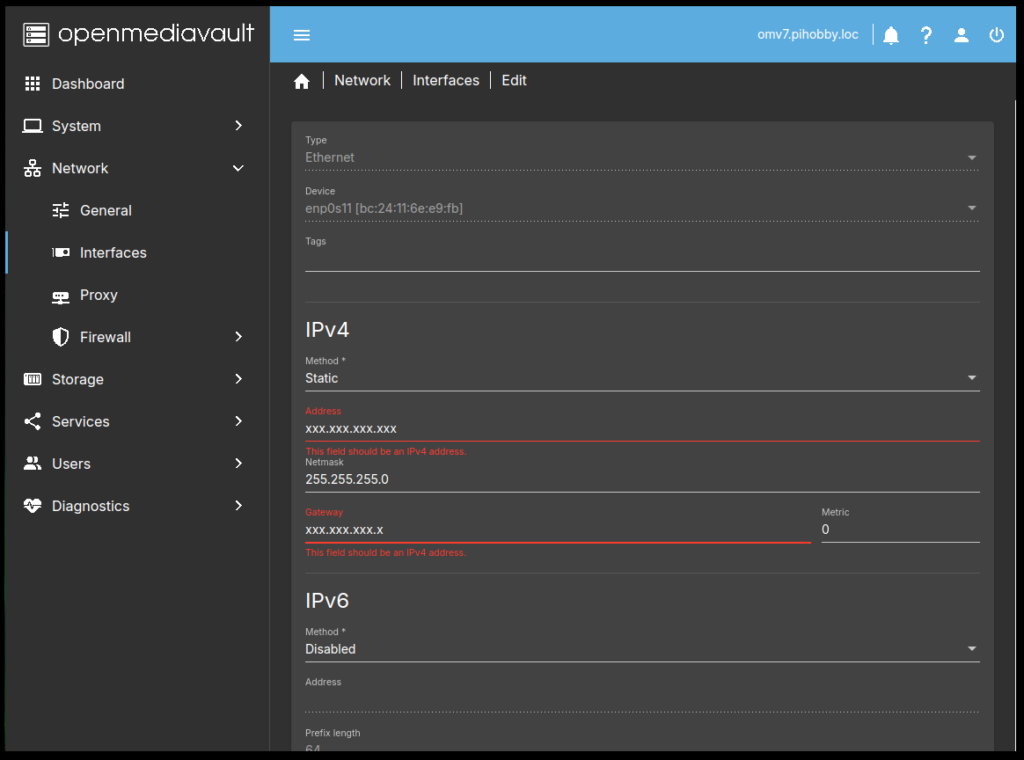
10 – Under Address – Put your ip address here. (ie: 192.168.0.20)
11 – Under Netmask – Put netmask here (mine is 255.255.255.0 a Class C).
12 – Under Gateway – Put your router/gateway address. (ie: 192.168.0.1)
note: In the DNS servers put what DNS Servers you use. I have an internal one and an external one. Seperated by a comma
13 – At the bottom of the click the save button.
note: Now we need to ssh in to the NAS so we can add the OMV Extras
14 – ssh user@server_ip
note: become root the (Administrator)
15 – sudo -i
note: go here https://wiki.omv-extras.org/ – Get the following script.

16 – wget -O – https://github.com/OpenMediaVault-Plugin-Developers/packages/raw/master/install | bash <press the enter key>

note: While we are at it, Let’s check to see if our OMV Extras installed Properly.
17 – Goto System in the Navigation on the Left and look for Plugins and omv-extras if it’s there you are golden.
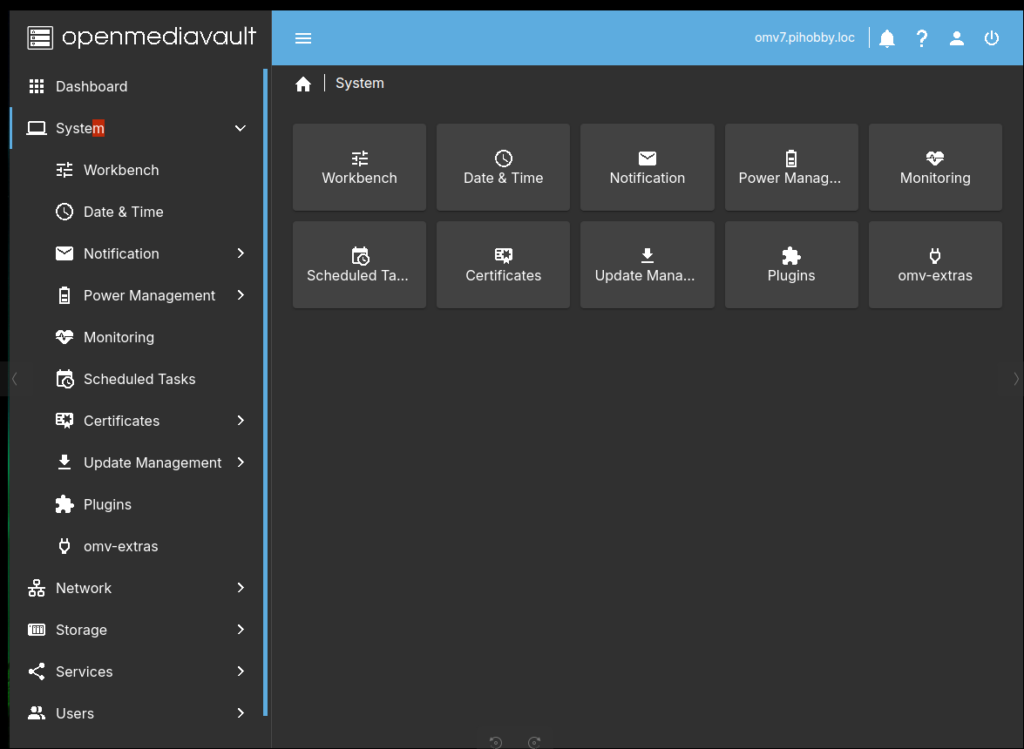
note: Next let’s go to the Storage area

18 – Click on Disks, find your drives and wipe them (use the eraser at the top), Click confirm, then Click Yes, Then click (Quick) if you use (Secure it will take forever to finish.)
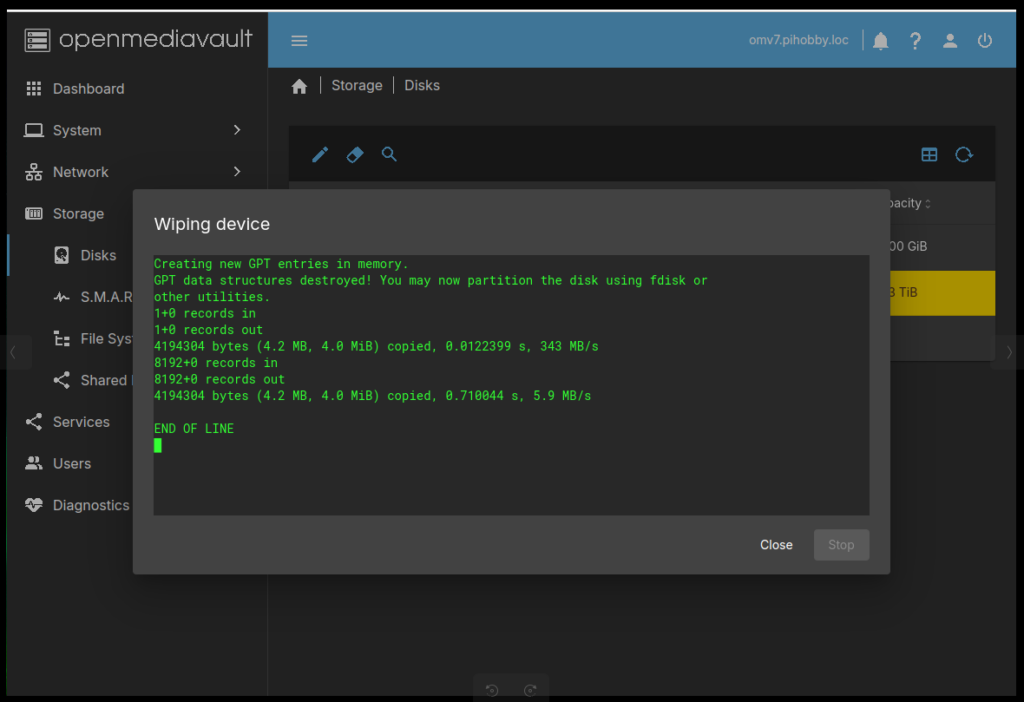
19 – Then click the close button.
note: Let’s go to Filesystem now.
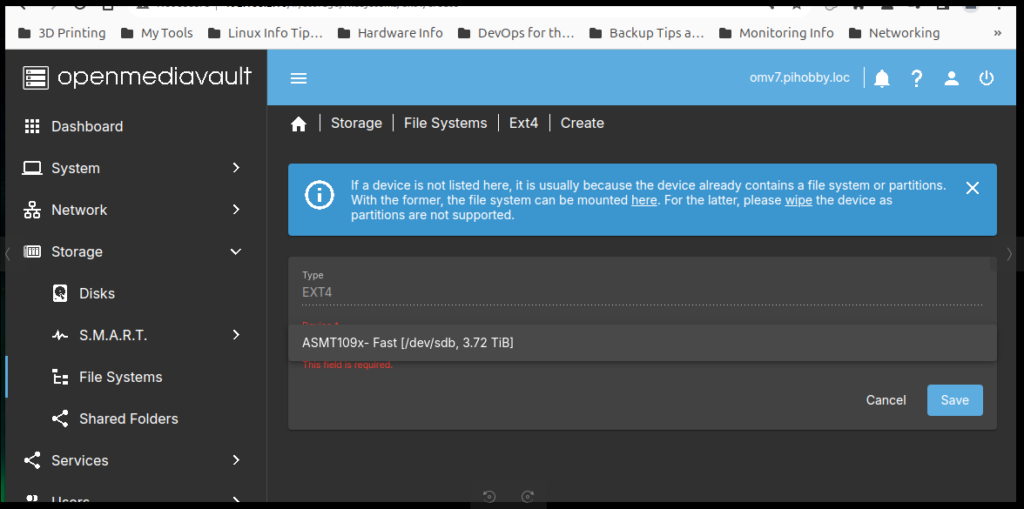
20 – Click on the Plus sign at the top.
21 – Click the Type you want to use (I use EXT4) it’s just simple and easy to manage.
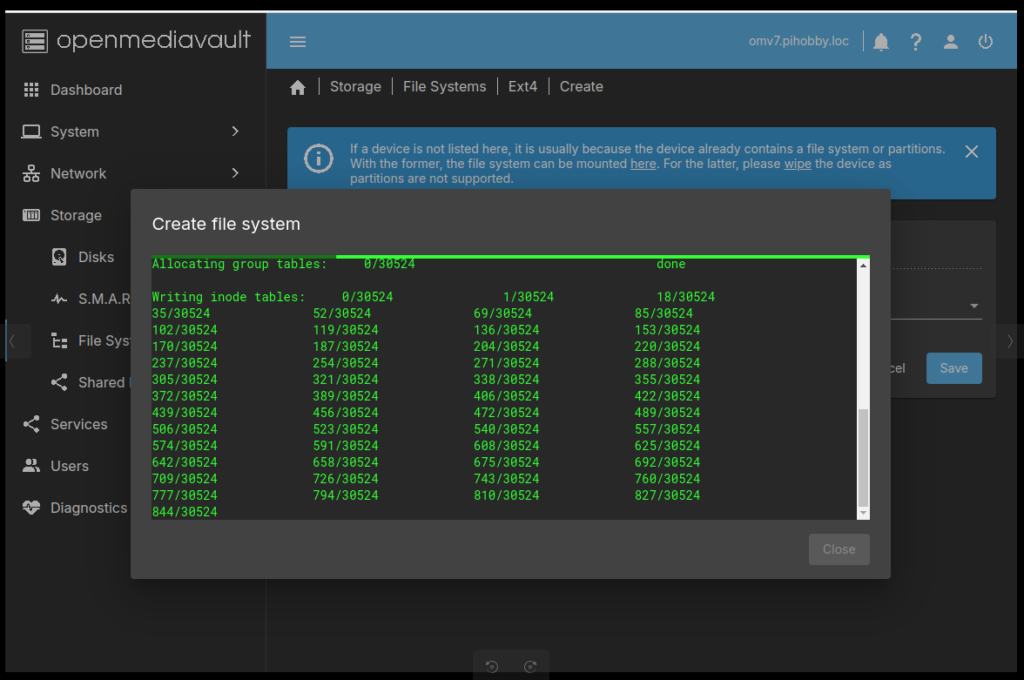
note: Depending on How big your Drive is; this could take some time.
22 – Click on Select a Device (drop down menu), Select your drive, Then Click Save.
23 – Click on File System, then click save.
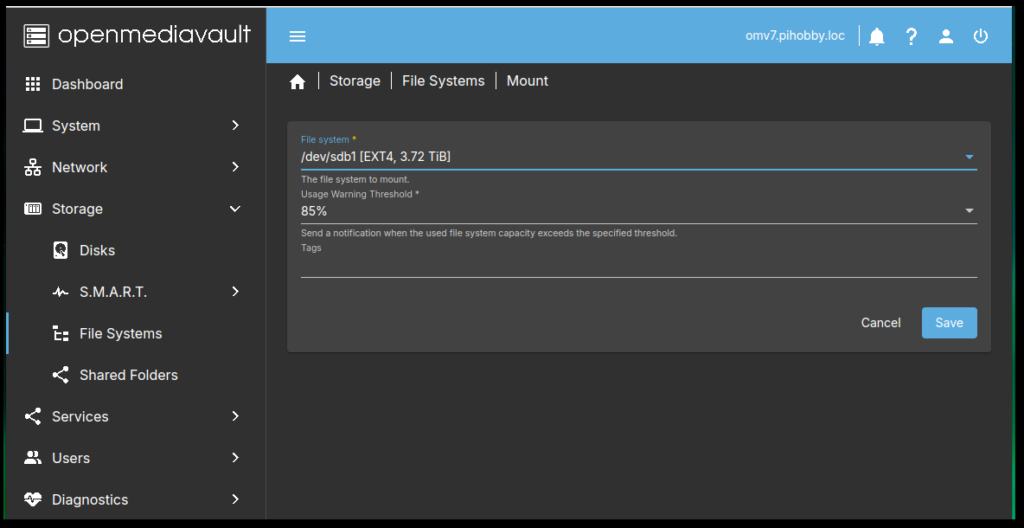
note: Don’t freak out here. It is going to take some time to come back,
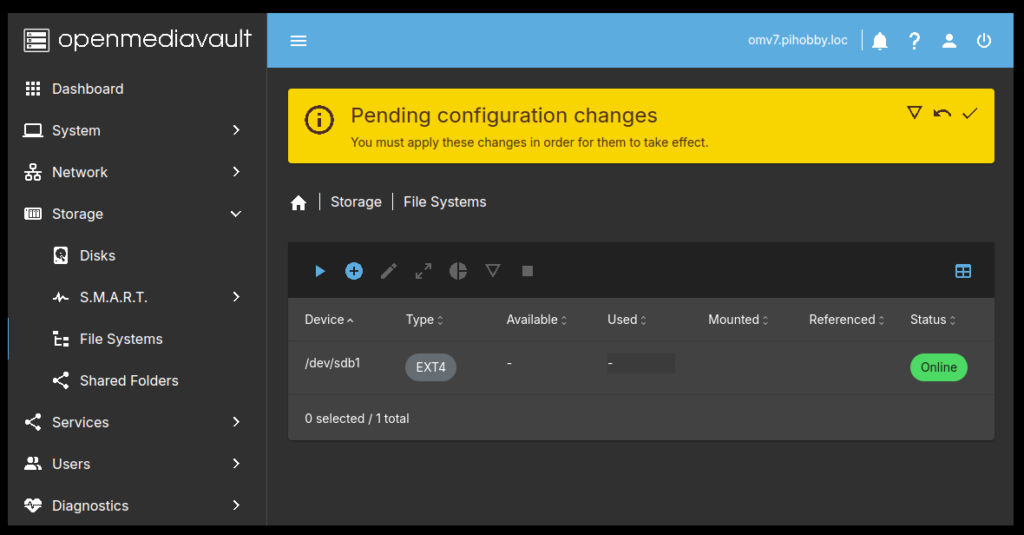
24 – In the yellow banner click the check mark to apply the configuration settings. then Click Yes.
note: Lets reboot the system just for good measure.
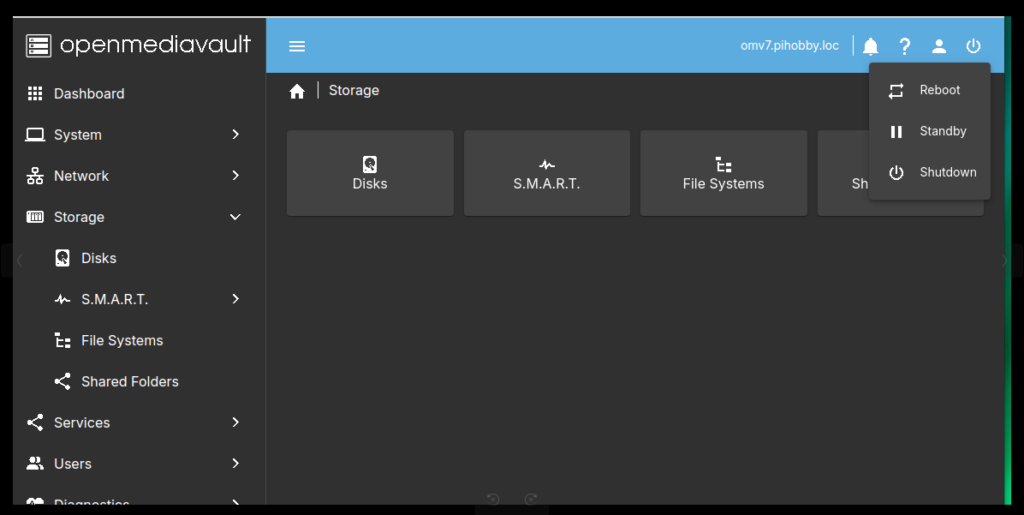
25 – or use the cli, sudo reboot
note: Let’s define our shares
26 – Click on Storage > Shared Folders > Name
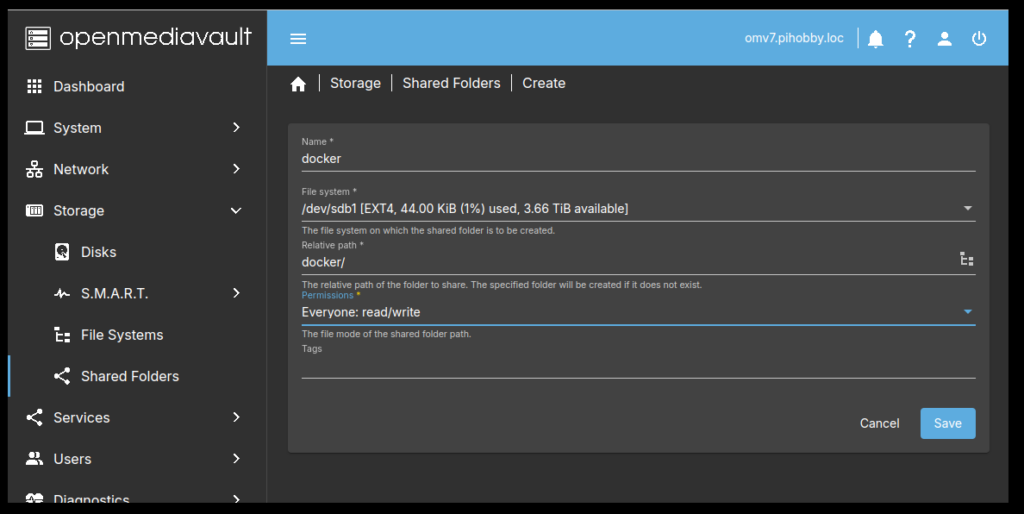
27 – Give the Share a Name Choose your file system (Drop Down Menu)
28 – Click the drop down menu and select your proper permissions (I use Everyone)
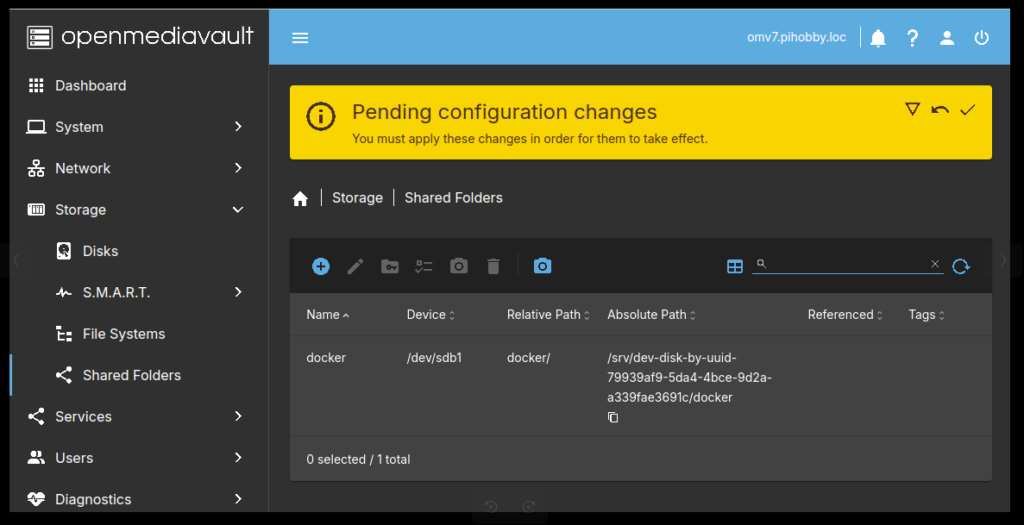
29 – Then Click Save
30 – Click the Check Mark in the Yellow Banner at the top, Then Click Yes.
note: This is where you define your shares before you can activate your shares they have to be defined. Define all your Shares before you move on.
note: Let’s activate your shares so they are available to the network.
31 – Go to Services and choose your service (NFS, SMB/CIFs while you are here turn on ssh).
32 – I choose NFS, then settings > check the enabled box then click Save, Then Click the Check Mark in the Yellow Banner above or at the top, then click yes.
33 – Click on Shares
34 – Click the Plus Sign at the top
35 – Click the Shared Folder / Drop Down Menu
36 – In the Client put the Host (192.168.200.33/32) or Networks (192.168.200.0/24) you want to share with.
37 – Change the permissions to what you need Read-only or Read/Write (I use Read/Write). Then Click Save. Then click the check mark in the above Yellow Banner. Then Click Yes. “I know it’s seems to be you have to apply everytime you make a move here.“
Okay this is all I have for the time being. Please let me know if you need help or if I missed something in my instructions. As always I appreciate you coming by and spending sometime with us on the site. If you have an idea or something that you know how to do. Please post an article, make sure you put your name to the article so you get the proper credit for it.
Have a magnanumious day and Merry Christmas to everyone.

