
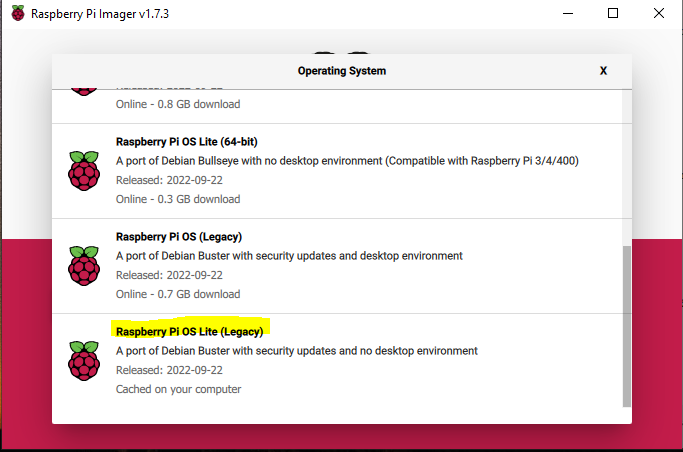
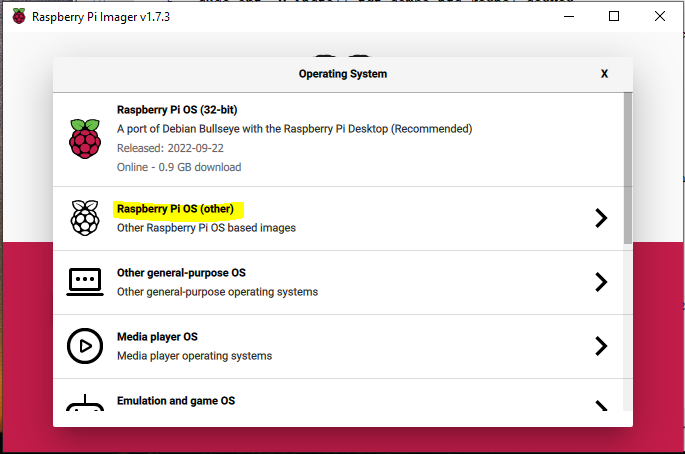
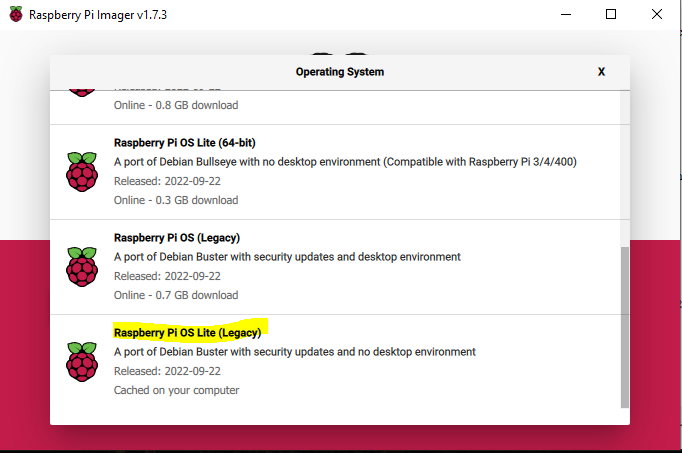
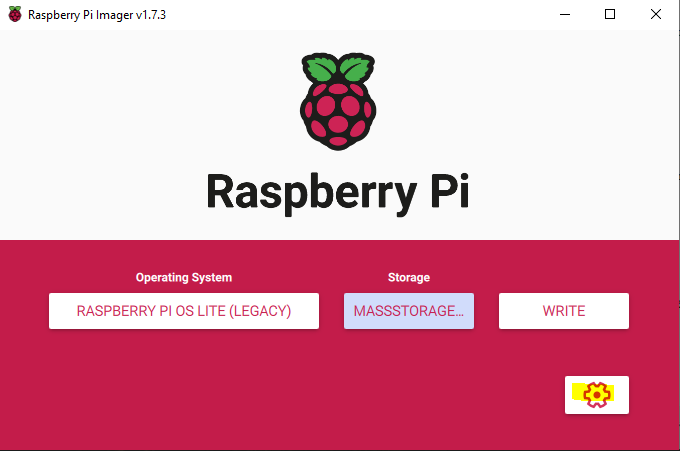
There are several helper programs to get an OS on to a disk to boot an IT Device. We will not go in to all the details, hopefully you understand what it is to burn an OS to disk for use. This is the process for using RPi imager to burn pretty much any OS for use.
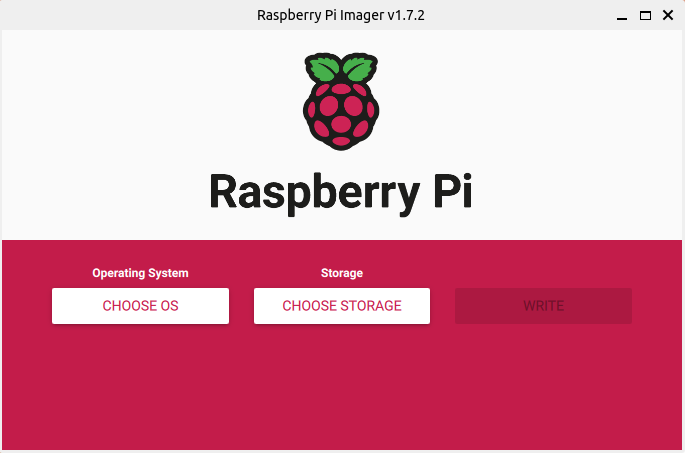
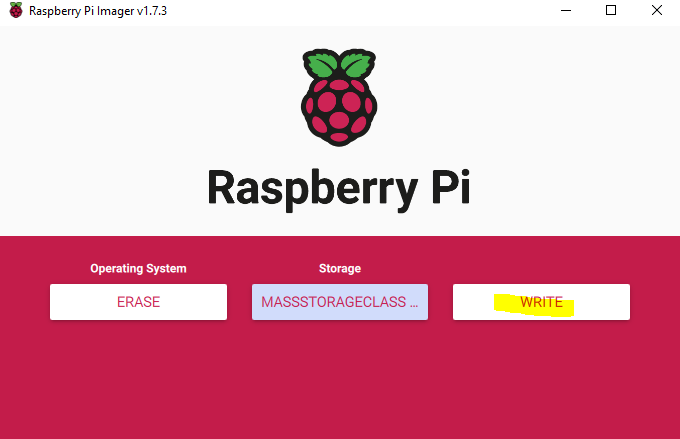
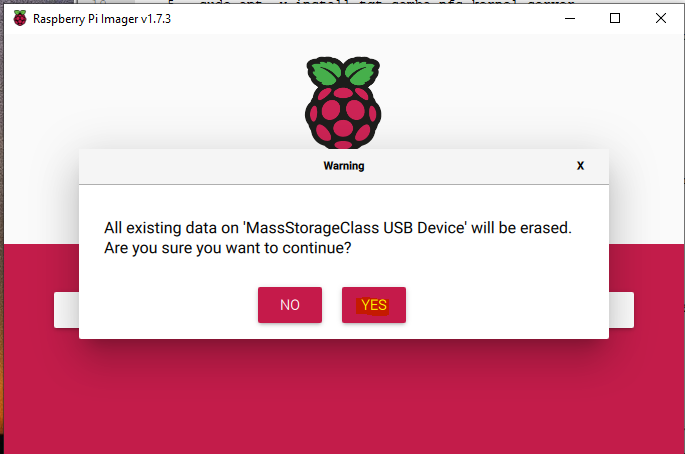
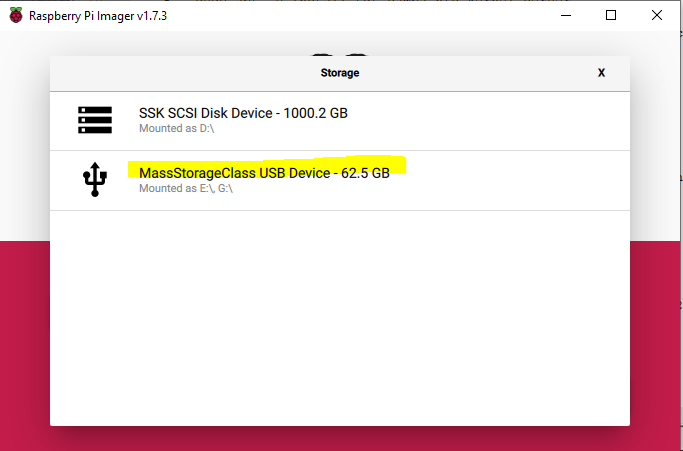
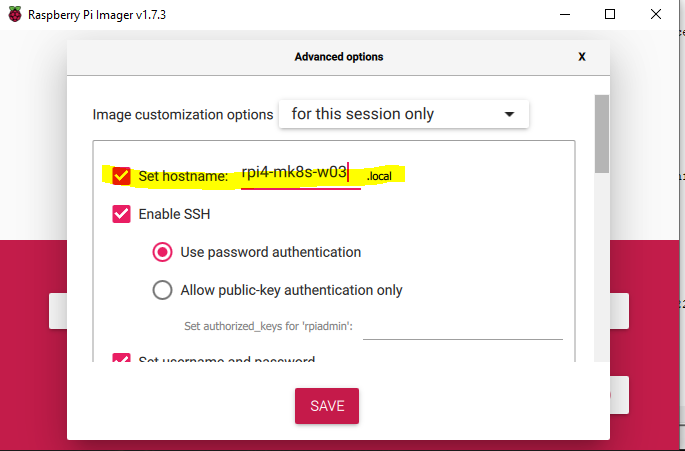
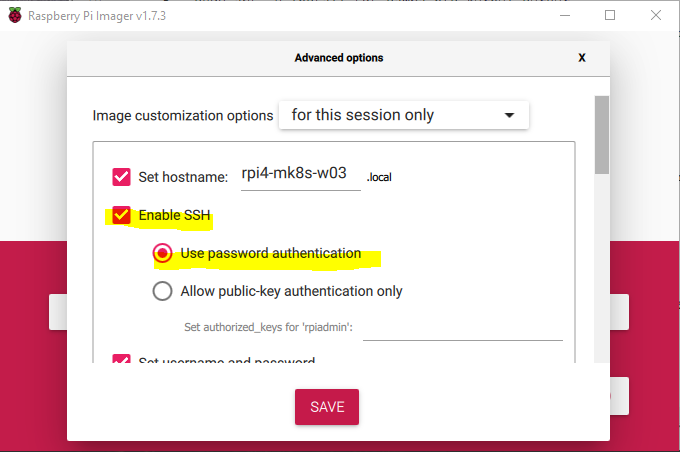
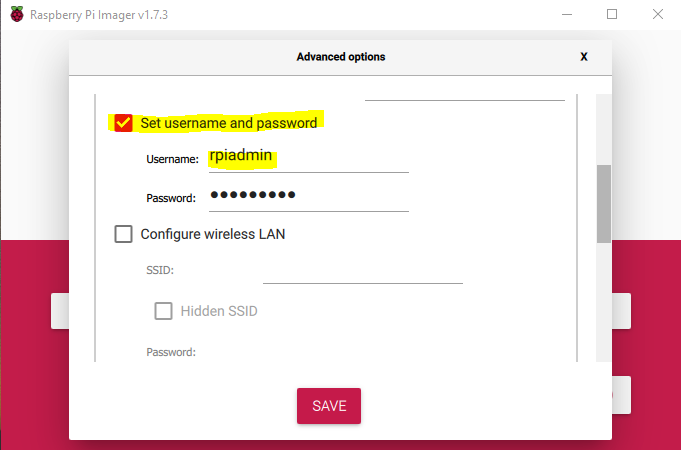
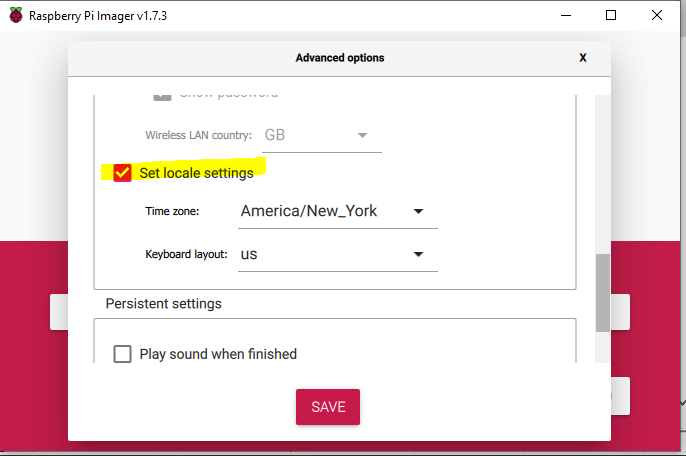
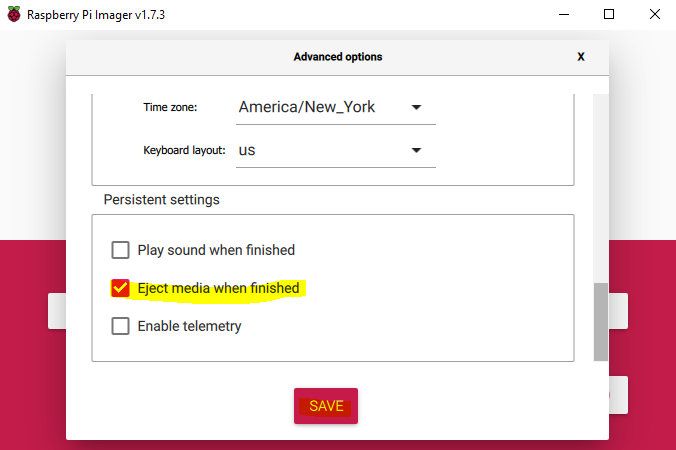
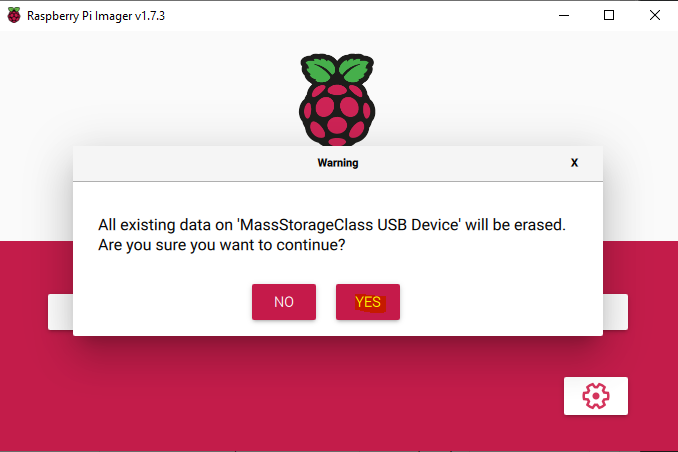
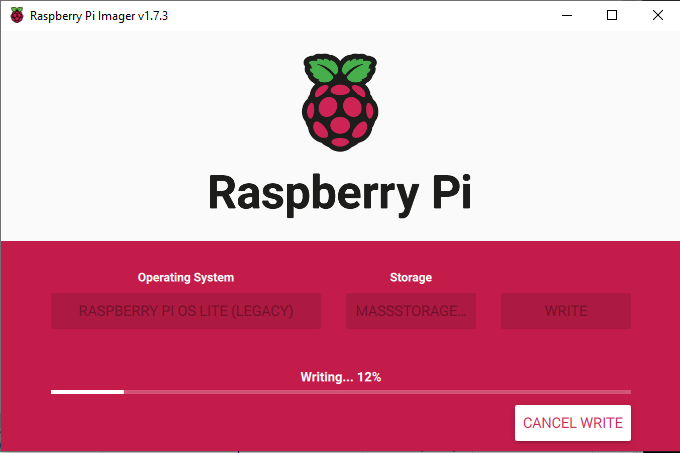
Use RPi Imager to burn the os to the SD Card:


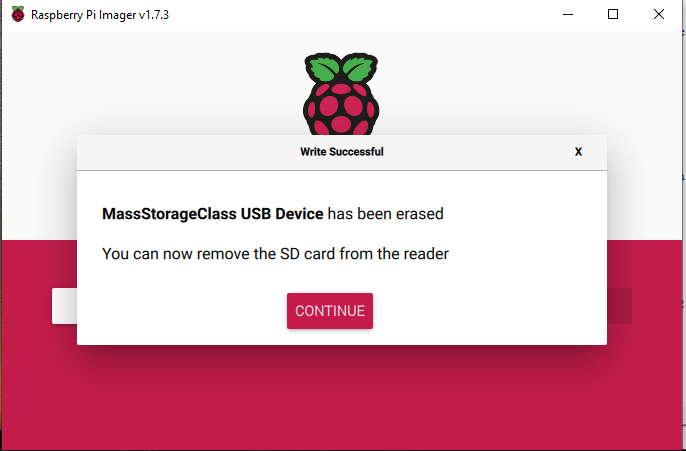
Remove the SD Card and plug it back in we have some things we need to do before we boot the pi with it.
Open File Explorer
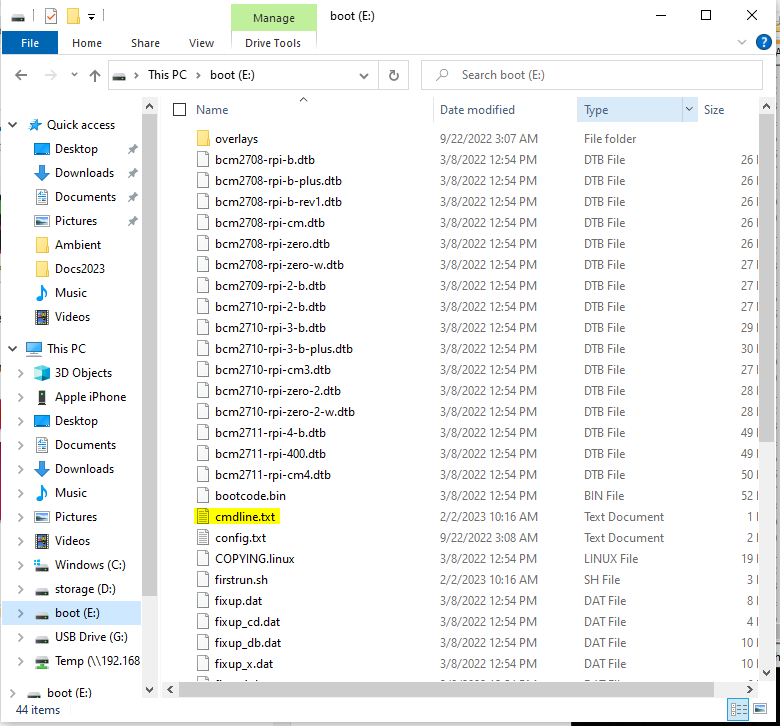

The Above can be copied and pasted into this file I always put it at the start of the line:
ip=12.18.2.21::12.18.2.1:255.255.255.0:rpi4-k3s-w02:eth0:off cgroup_enable=cpuset cgroup_enable=memory cgroup_memory=1 swapaccount=1
Next we need to open the config.txt
sudo nano -c config.txt### This will disable WiFi and Bluetooth ###
dtoverlay=disable-wifi
dtoverlay=disable-bt
# dtparam=audio=on
dtparam=audio=off
### Add on the last line after the [all] section This makes sure 64bit is used ###
arm_64bit=1
note: Plug the SD Card back into the Pi and power it on. After it boots; SSH in to the Pi. Use the back arrow to get back to the article you were following if it was on this site.