
This article assumes you have your OS already installed and you are ready to go. There is sometimes a need to host your own site from your home/residence/HomeLab. Virtualmin is an excellelent hosting panel I think it’s one of the best it takes all the mind bending work out of hosting your own website. Just a FYI here this can be done in a VM/SBC type device as well.
Let’s get started:
1 – ssh/login into your server/vm
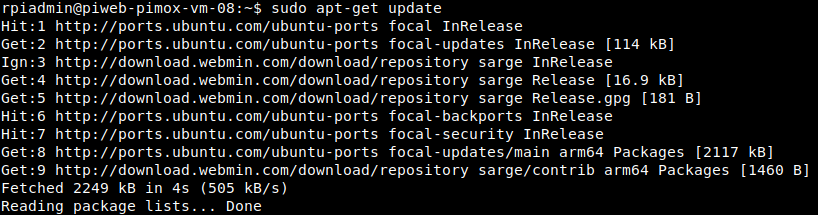
Let’s update the respository (The first command does this) and then we need to upgrade all the system packages (The second command does that) the && allows you to run them together.
2 – sudo apt update && sudo apt -y full-upgrade
Let’s edit our respository source and add the GPG Keys for the Software.
3 – sudo nano -c /etc/apt/sources.list
Append the following to the file above:deb http://download.webmin.com/download/repository sarge contrib
4 – apt-key list <enter>
note: look for the jcameron-key if it’s not there then do the following.5 - sudo apt-key adv --keyserver hkp://keyserver.ubuntu.com:80 --recv-keys D97A3AE911F63C51
6 – apt-key list <enter>
Let’s install the dependencies for Webmin/Virtualmin
7 – sudo apt -y install software-properties-common apt-transport-https gpg

8 – sudo apt update
9 – sudo apt -y install webmin
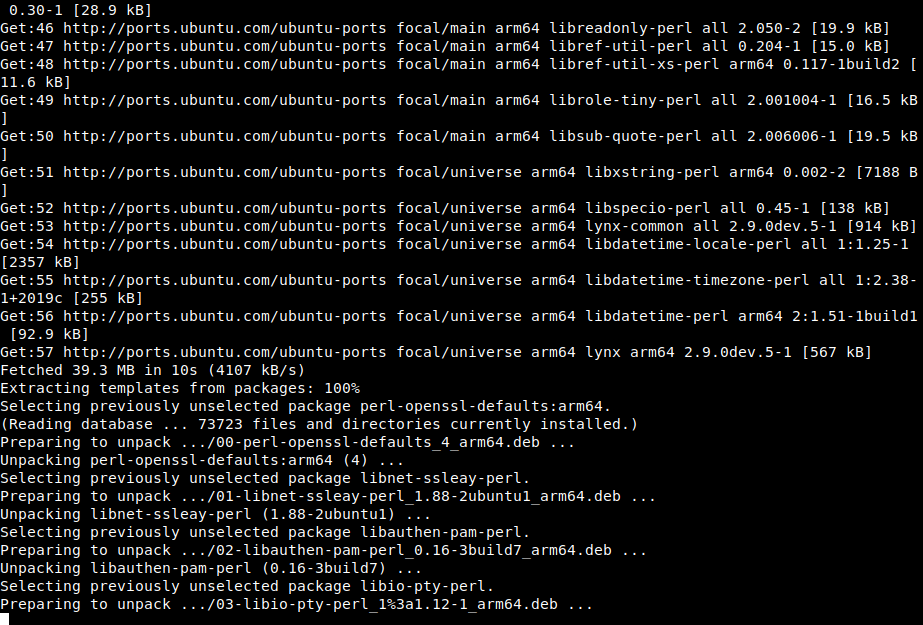
This will take a while to complete, I would get a cup of coffee and wait for it.
You can set your root password with the following command:
10 – sudo /usr/share/webmin/changepass.pl /etc/webmin/ root NewStrongPassword
If you haven’t already done so, you should set your hostaname.
11 – sudo hostnamectl set-hostname your.doamin.org/com/us
Let’s Download Virtualmin & Install it.
12 – sudo wget http://software.virtualmin.com/gpl/scripts/install.sh

Config Virtualmin for use on a Raspberry Pi/OPi5
You can install Virtualmin on a SBC with just a simple modification on to the install script. Per this post on on RasberryPi.com (https://forums.raspberrypi.com/viewtopic.php?t=254307)

I Suggest you use Debian Buster/Bullseye or Bookworm OS
You need to follow the instructions below:
sudo nano -c install.sh

w/nano <enter> ctrl-W to Find the text "get_distro"

Add in os_type="debian" after get_distro

get_distro
os_type="debian"
log_debug "Operating system name: $os_real"
log_debug "Operating system version: $os_version"
log_debug "Operating system type: $os_type"
log_debug "Operating system major: $os_major_version"

What this does is, it will force the script to recognize the host as a debian operating system type.

Return to Step 13 … It should install without any issues.
Make the script executable.
13 – chmod a+x install.sh
Make the script executable.
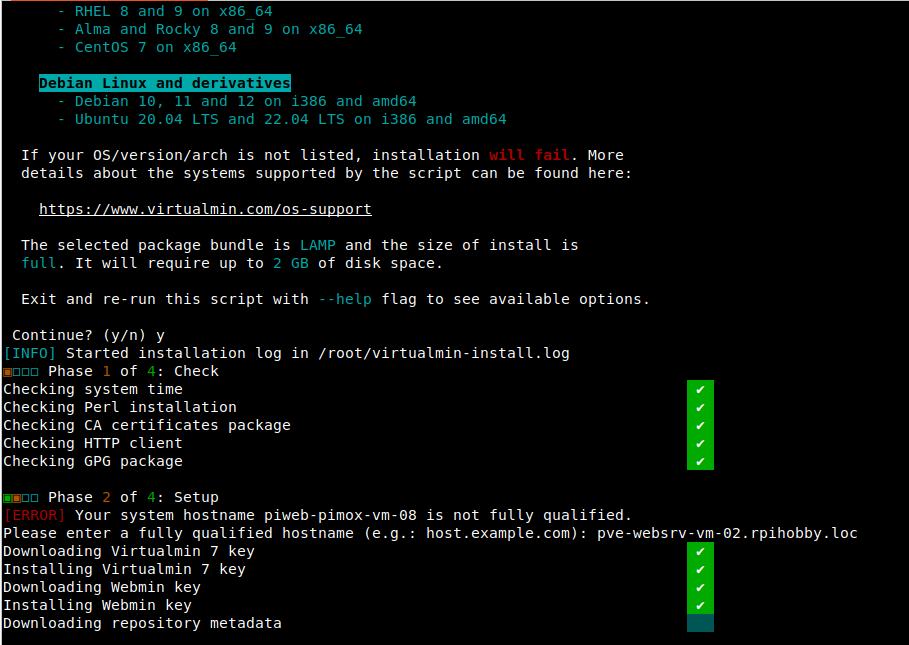
14 – sudo ./install.sh
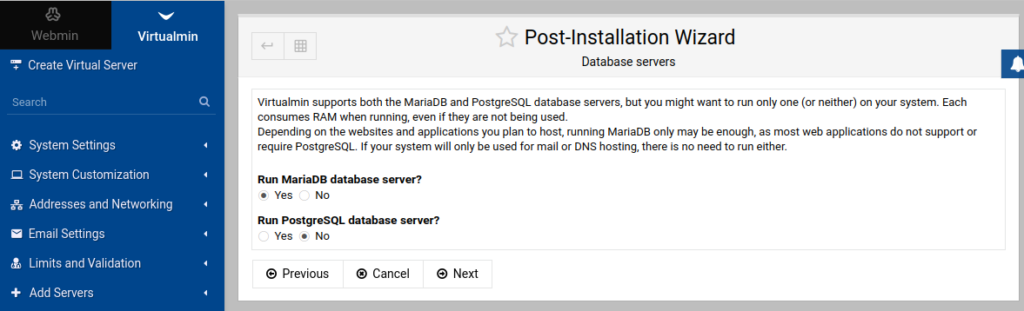
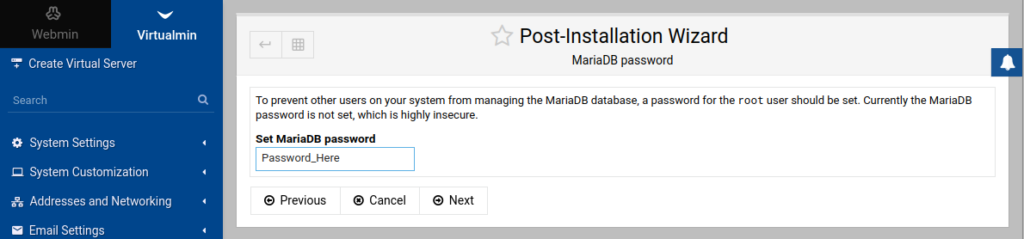
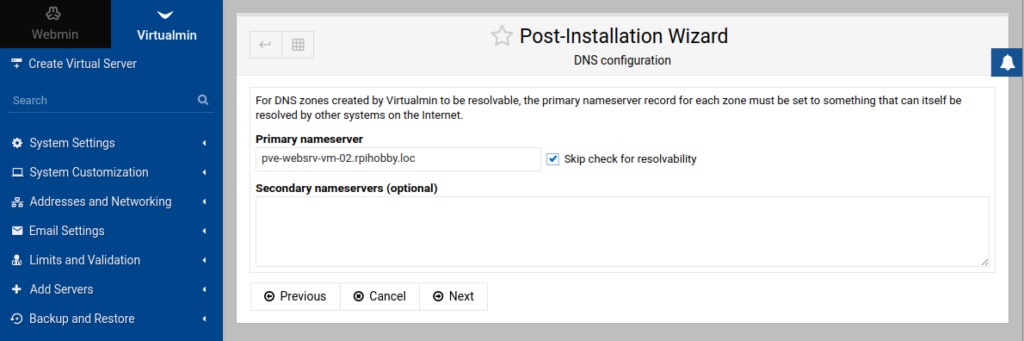
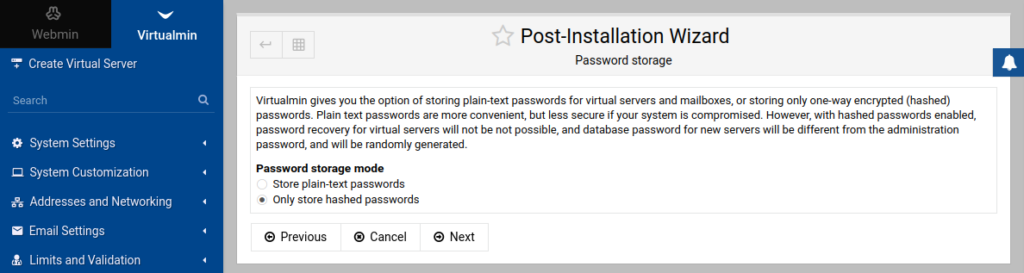
Follow the onscreen prompts to complete the install
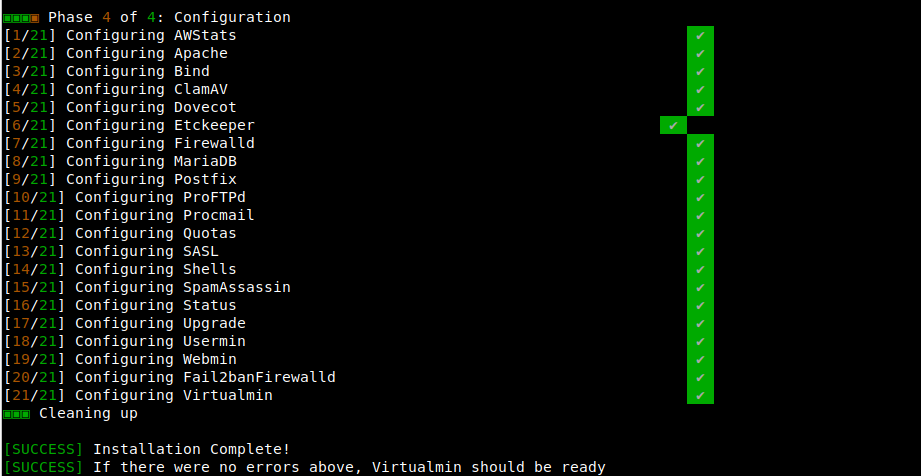
Add the port to the native firewall to allow access
15 – ufw allow 10000
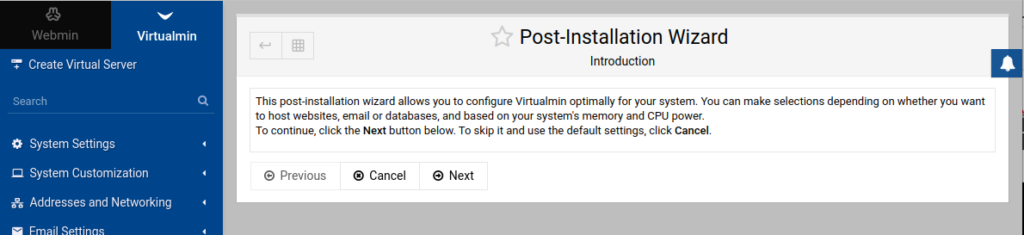
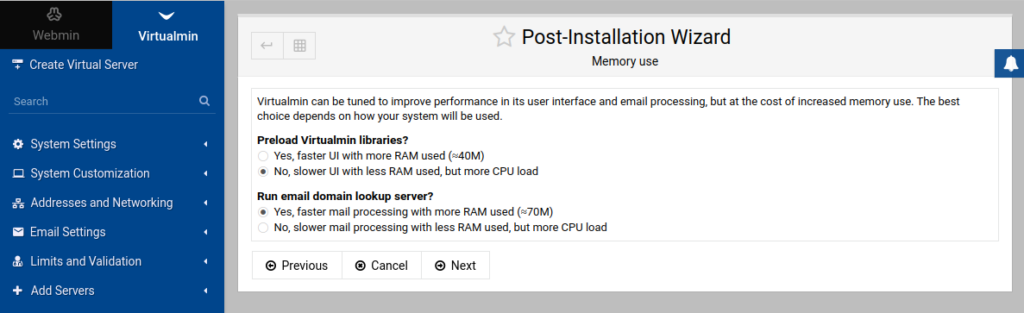
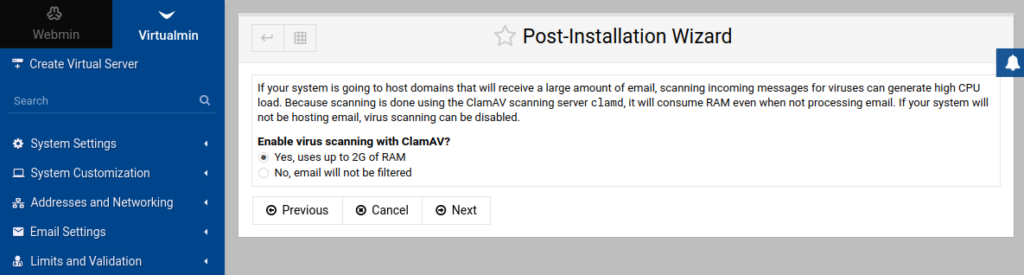
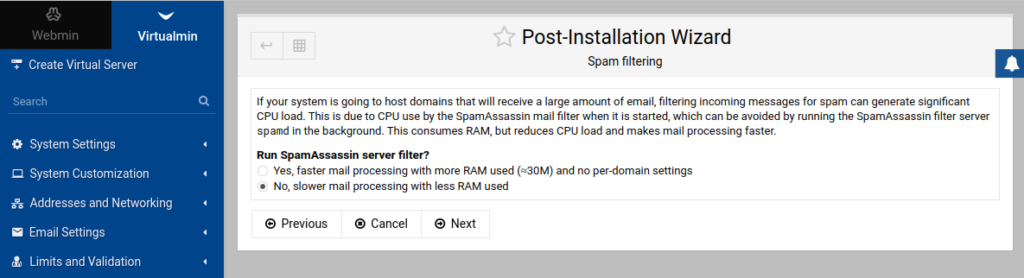
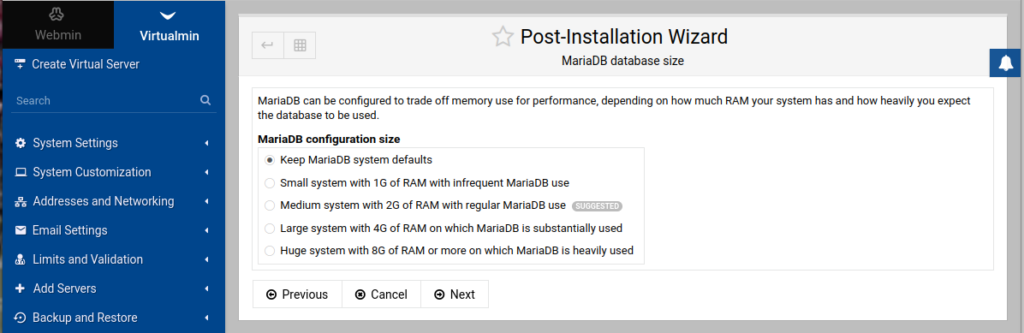
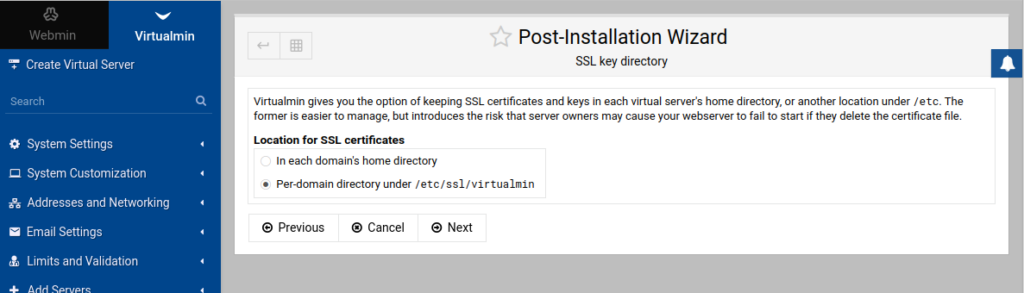
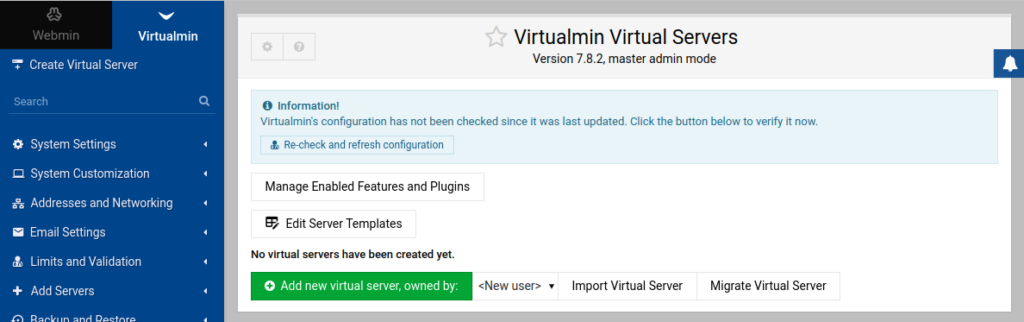
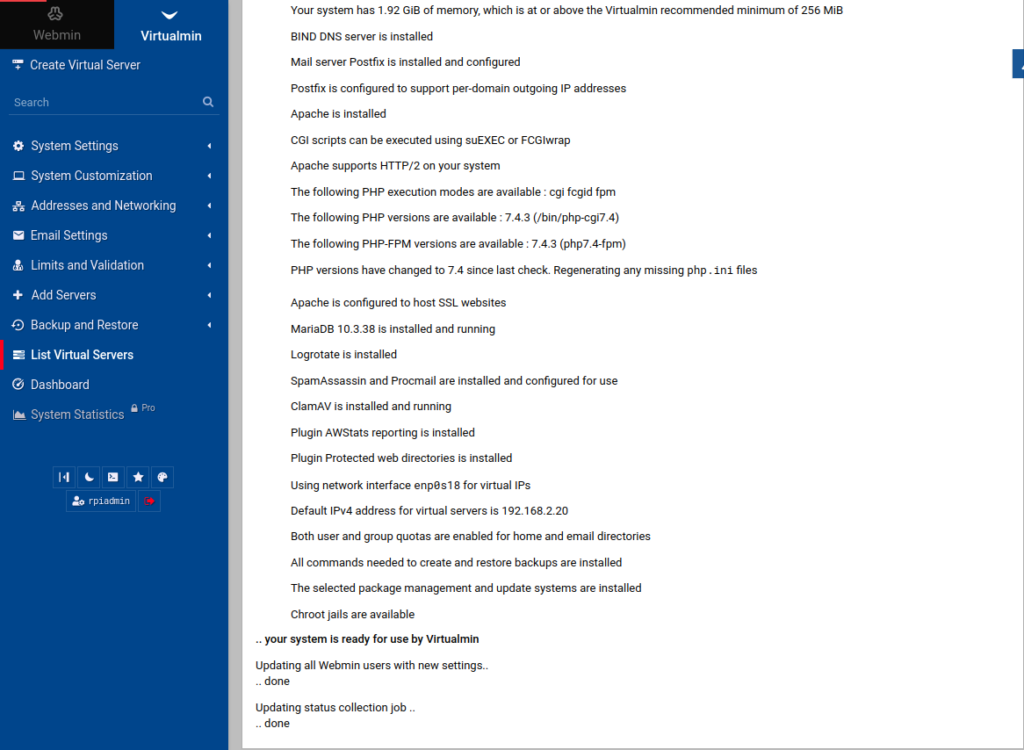
In this next section we will need to finish off the sever configuration
To access your new Management GUI goto https://your_ip:10000


I know this is a bit on the long side but I wanted to make sure all the details were addressed for a complete and working configuration. Thank you for reading and spending time with us. Let us know what ya think.