
Doing a deployment on Proxmox (Intel/AMD) is pretty much straight forward. However on a Raspberry Pi Cluster there are a few I gotchya’s you need to be aware of. I will show you how to deploy a VM on your PiMOX Cluster.
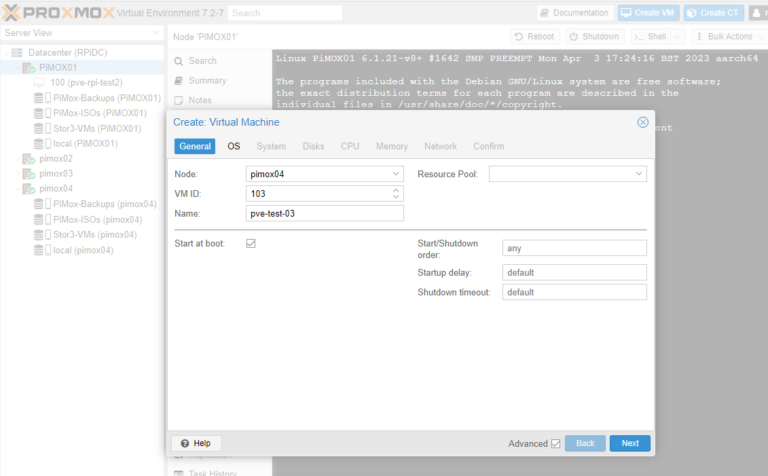
1 – Right click on the host you want & select create VM:
2 – Input the name of your VM, It can be anything you want for ex: pve-test-03 then click next.
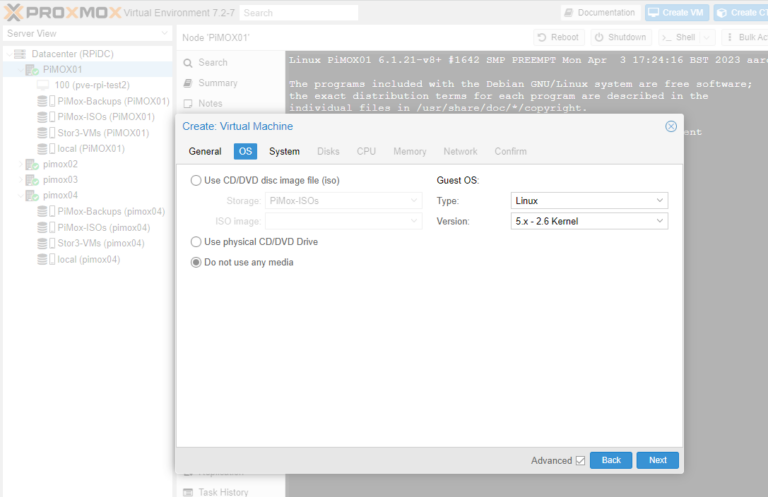
3 – Select do not use any media, make sure under guest os Linux is selected …. click next.
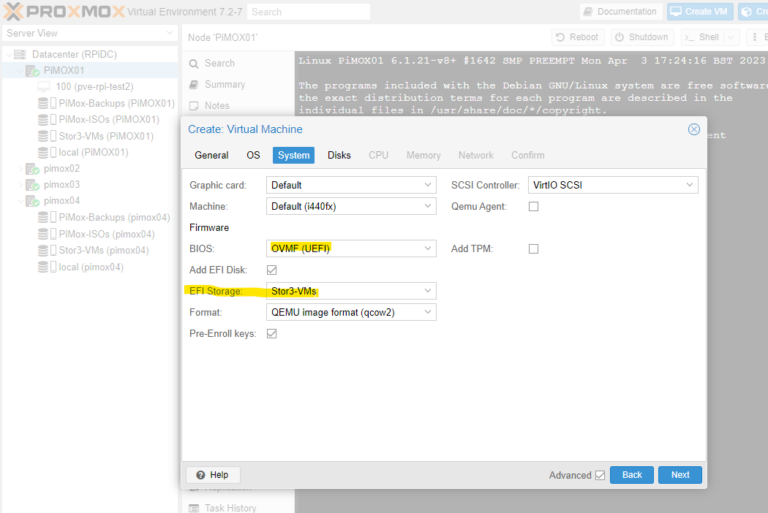
4 – Under BIOS select OVMF (UEFI) and Select a Drive for EFI storage, click next.
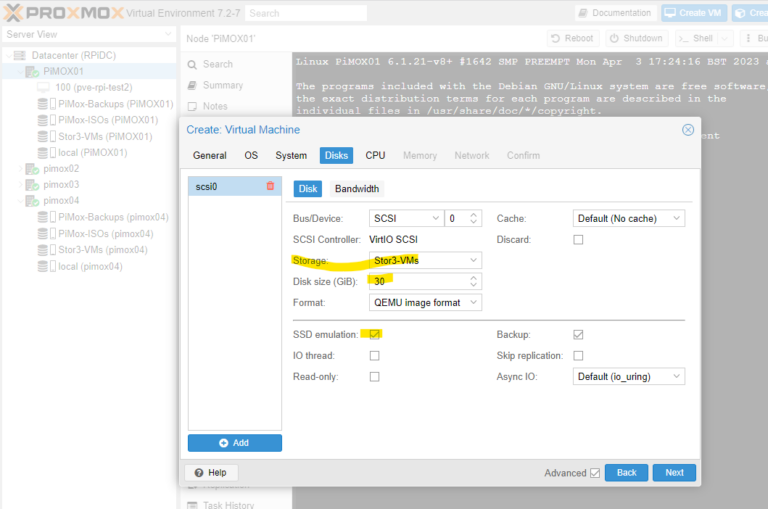
5 – Select your storage location, create the disk size and select ssd simulation, click next.
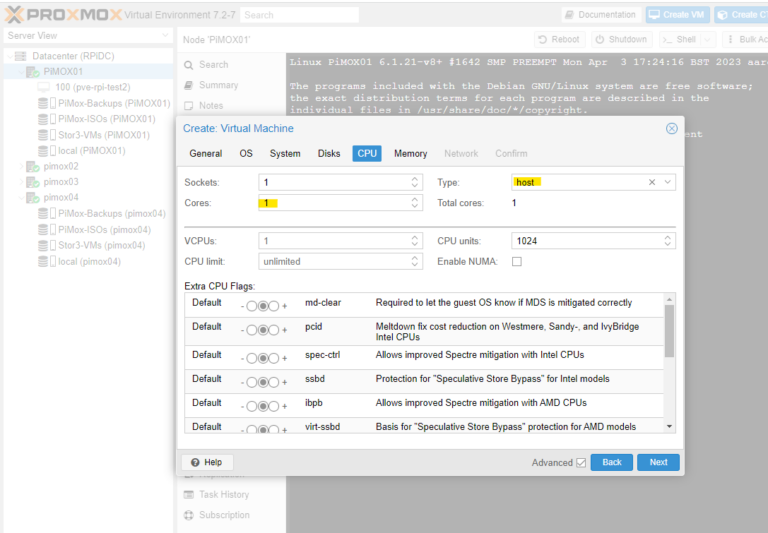
6 – Select How many cores, select Type: host click next.
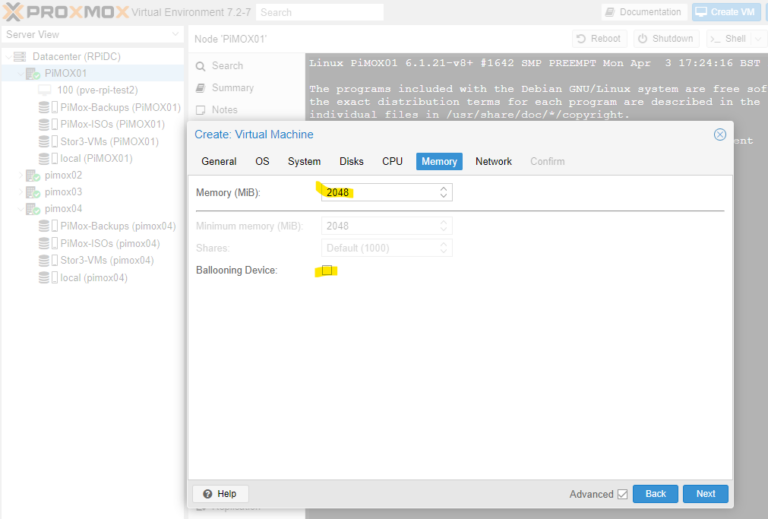
7 – I input my memory size I want, then I uncheck the ballooning device option click next.
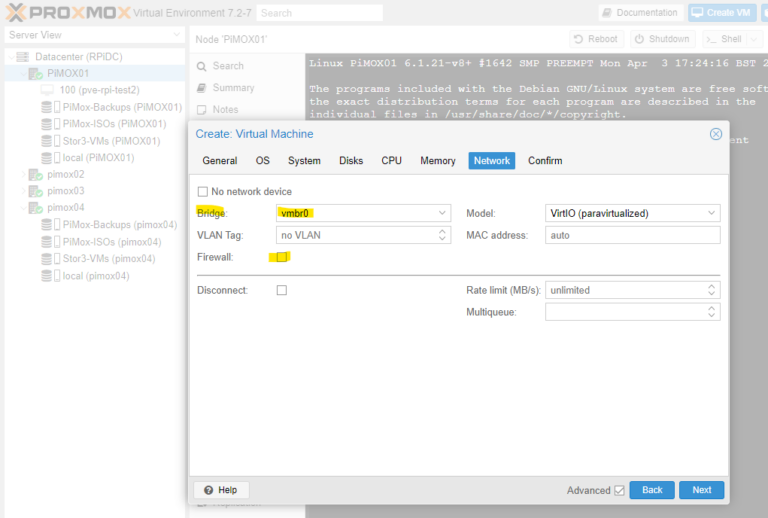
8 – Make sure you choose the correct Nic mine is vmbr0 and I uncheck firewall (imho) doesn’t make sense to double firewall click next.
9 – On the confirm screen click next if you are good with your selections.
Once it is completed creating the VM we have some more work todo
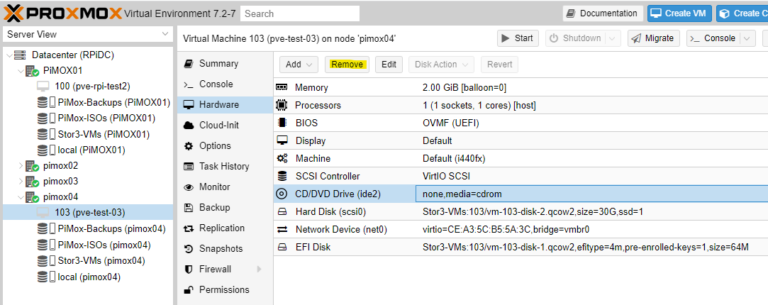
10 – Click on the VM and then in the right navigation click the hardware option:
11 – Highlight the cd/dvd drive and then click remove at the top.
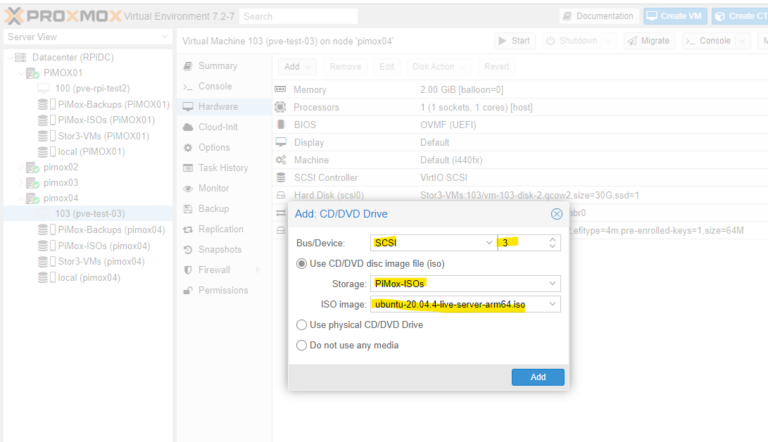
12 – Let’s add one for our use, add at the top, do it like mine in the shot below. Then click add.
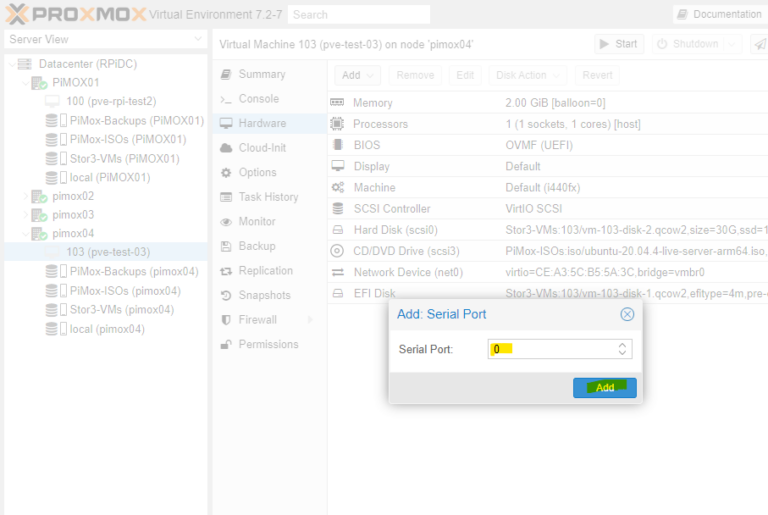
13 – Now we have to do the next two steps specifically for the display, Select add, Select Serial Port make it has a 0 in Serial Port, Select add.
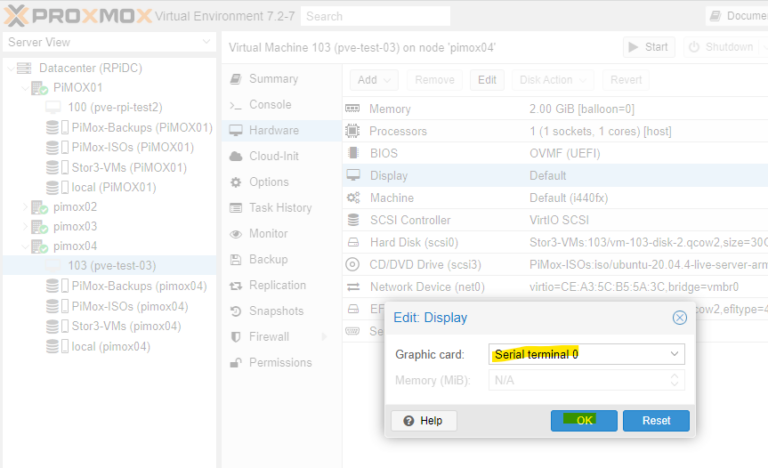
14 – Select display in the navigation to the right, Select the edit button at the top, Select Graphic Card then Serial terminal 0, then click ok.
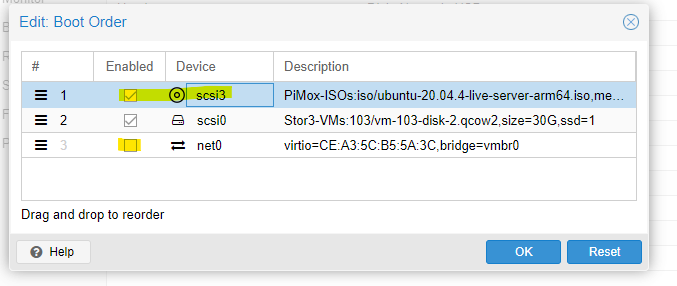
15 – Goto Options, Select Boot Order, Uncheck net0, Select scsi3 and drag it to the top above scsi0, then click ok.
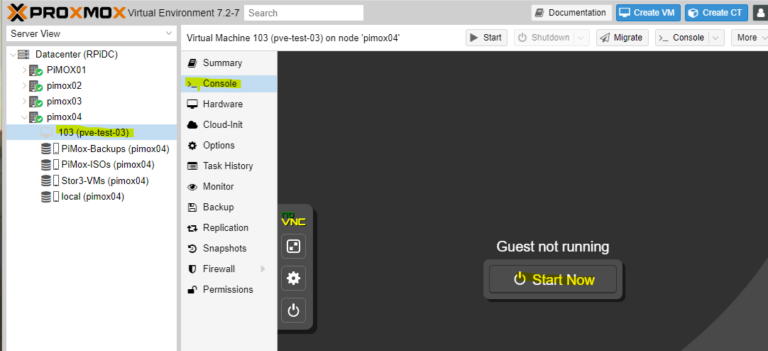
16 – Highlight the VM right click and start, make sure to choose the >_ console option from the right navigation.
Finally you install the OS as you normally would. I hope this article helped you, please let us know if we did a good job with the step by step tutorial.
See in the next article. Thanks for reading it.