Time: 30 minutes
Docker is an innovative technology that developed in a short period of time (about two years) and is in great demand in modern IT industries today.
One of the easiest things I have learned to implement is Docker on a Raspberry Pi 4b. I will out line the steps here for you to complete the task with an extra bonus for you. You will have access to one of the hottest technologies in the industry today.
I will be using some acronyms during the writing:
cli – command line interface
OS – Operating System
RPi – Raspberry Pi 4b
OPi5 – Orange Pi 5
Let’s get started with your new Docker Server:
Pre-requisites:
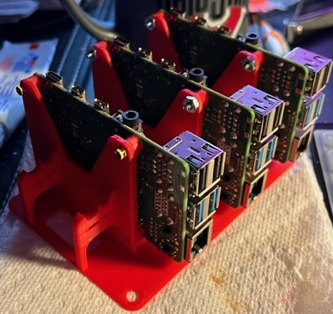
1 – Raspberry Pi 4b Device – at least 4 gb of ram, but 2 gb would work.
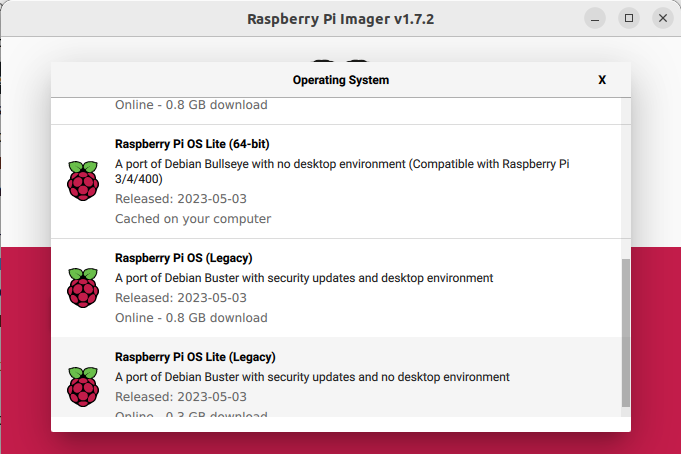
2 – Rapsberry Pi Imager to burn the RPiOS to an SD Card
3 – a SD Card I would say in my opinion 32 gb at the smallest (SDXC UHD)
4 – Time you will need about 30 minutes.
5 – Burn Bullseye to SD Card with Imager
note: disable the wifi, audio, & bluetooth in the /boot/config.txt or /boot/firmware/config.txt – under additional overlays section
Let’s set a static IP for the device:
6 – sudo nano -c /etc/dhcpcd.conf or sudo nano -c /etc/netplan/00* or 50*
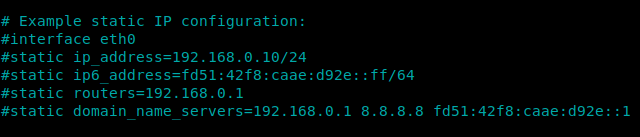
remove the # in front of interface, static ip, static routers, static domain_name_servers Adjust these with your ip, gateway, router and DNS Server address. Please follow the format in the screenshot.
note: Let’s set the server’s time zone – This is important!
7 – sudo timedatectl set-timezone America/New_York && sudo reboot
note: Check your hosts file make sure it’s good.
8 – cat /etc/hosts
note: look for the following or something similar.
Change this – 127.0.1.1 rpi4-pimox-07.rpihobby.loc rpi4-pimox-07
(to example: 172.16.31.120 test_srv01.pihobby.loc test_srv01)
9 – sudo nano -c /etc/hostname
server_name_here
Reboot the server for changes to take effect
10 – sudo reboot
note: The prep work is done Let’s get down to business.
Let’s update the repositories & Upgrade the system while we are at it.
11 – sudo apt update && sudo apt -y full-upgrade
note: if you get an error that has oldstable in it.
use this to fix it: sudo apt update –allow-releaseinfo-change <- type it at the cli.
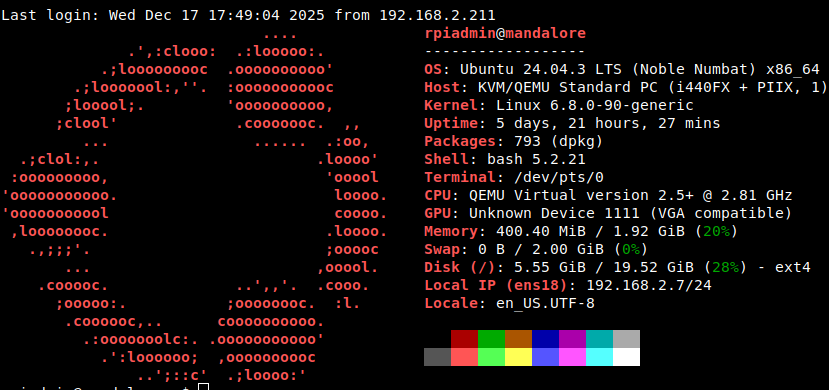
I like neofetch/fastfetch so I use it.12 - sudo apt-add-repository ppa:zhangsongcui3371/fastfetch
13 - sudo apt update
14 - sudo apt -y install fastfetch
15 - sudo nano ~/.bashrc
note: copy the following to the last line of the file.
fastfetch
note: Then run the following.
16 - source ~/.bashrc
Let’s add the git repository for pi-hosted:
17 – sudo apt -y install git
18 – sudo mkdir -p projects
19 – cd projects
20 – sudo git clone https://github.com/novaspirit/pi-hosted.git
21 – cd pi-hosted
Let’s install docker so we can get some containers running.
22 – sudo ./install_docker.sh
This is an alternative: Only use this if the method above does not work.
23 – sudo wget -qO- https://raw.githubusercontent.com/pi-hosted/pi-hosted/master/install_docker.sh | bash
24 – sudo docker –version

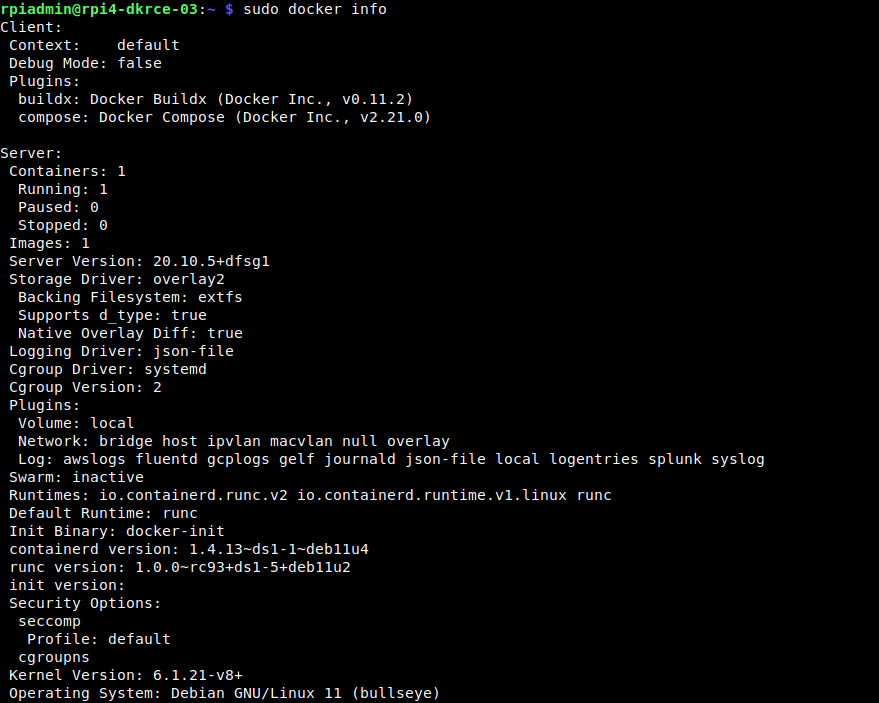
note: Run the following 2 commands below no matter what;
25 – sudo apt -y install docker-compose
26 – sudo docker-compose –version

BONUS: Now Let’s install portainer for your management GUI
27 – sudo wget -qO- https://raw.githubusercontent.com/pi-hosted/pi-hosted/master/install_portainer.sh | bash
28 – sudo docker ps -a

29 – Goto your https://ip_address:9443
30 – You will need to create your admin user first:
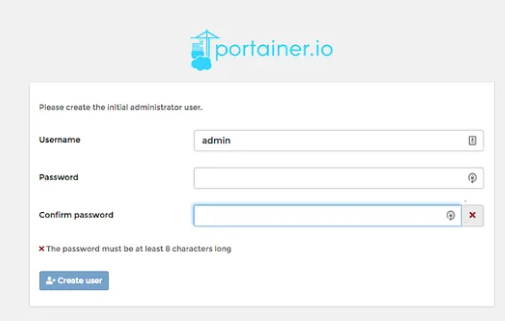
There are plenty of youtube Videos on how to configure Portainer for your environment:
Thank you for coming by and reading this article. If you need further assistance feel free to email me or reach out to me on discord in the RPiHobby channel/server.