
Are you tired of not being able to config your retail router the way you want then follow this article to router freedom:
note: The prices below were at the time I bought these: The prices are probably higher now!
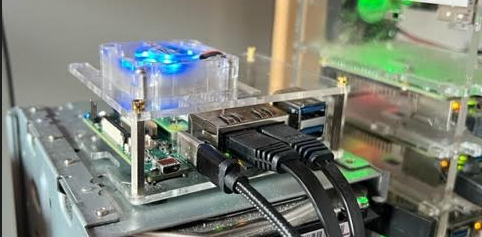
Hardware List:
1 – Dual Nic Carrier Board – $45
2 – Raspberry Pi 4 – CM4 – $80
3 – Case from seeedstudio website – I printed my own case – Unknown Value
4 – Power Adapter for the Pi – $11
note: You can use a Single Nic RPi4b also; here is Dev Odessey’s video for that.
Pre-Requisites:
RPi4b device – (1 gb/2 gb/4 gb/8 gb) <- This doesn’t matter (The Ram I mean). However more memory is more Apps and Resources. Amazon is a good resource for this.
SD Card – This should be a high quality one – I use a 32 gb San Disk Ultra – Here -> Amazon
OpenWRT – here -> Latest Image – I use the ext4 factory image.
Plugable USB/Ethernet Adapter – Here -> Amazon
balenaEtcher Software – Get it here -> https://etcher.balena.io/
and you will need about 30 minutes to accomplish this task.
note: run an ethernet cable from your pc to this mini router’s LAN Port
You must burn the OS to the onboard eMMC of the seeed studio companion board: here is the guide for that OS eMMC deployment.
After you preform the above follow this guide to do basic configuration:
1 – ssh in to the new router -> ssh user@ip_address
2 – type passwd > put in your new password > press enter
note: at the prompt
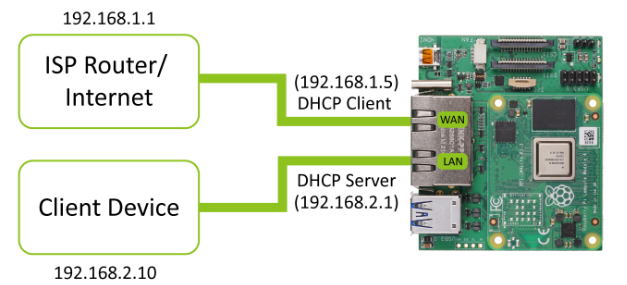
3 – Type: uci set network.lan.ipaddr=”Your_IP_Here” > press enter
4 – Type: uci commit network > press enter
5 – /etc/init.d/network restart > press enter
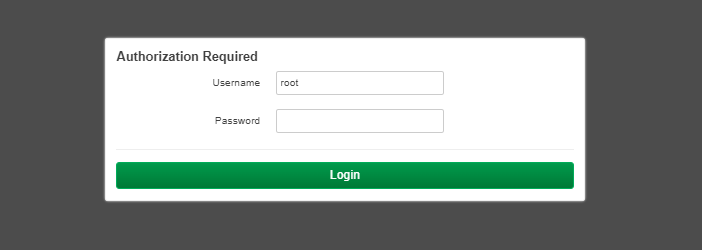
6 – Open your browser and type the ip you entered above.
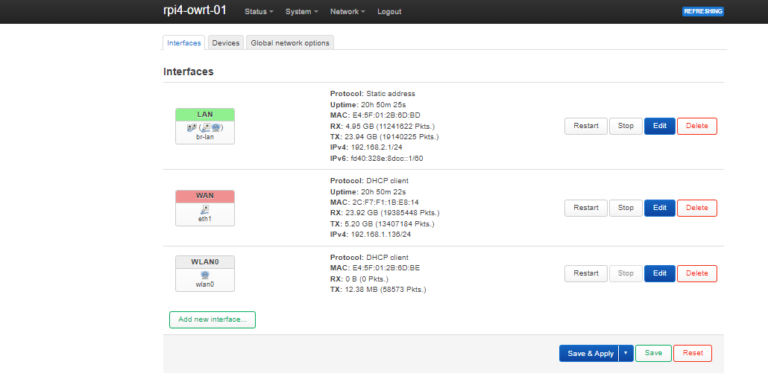
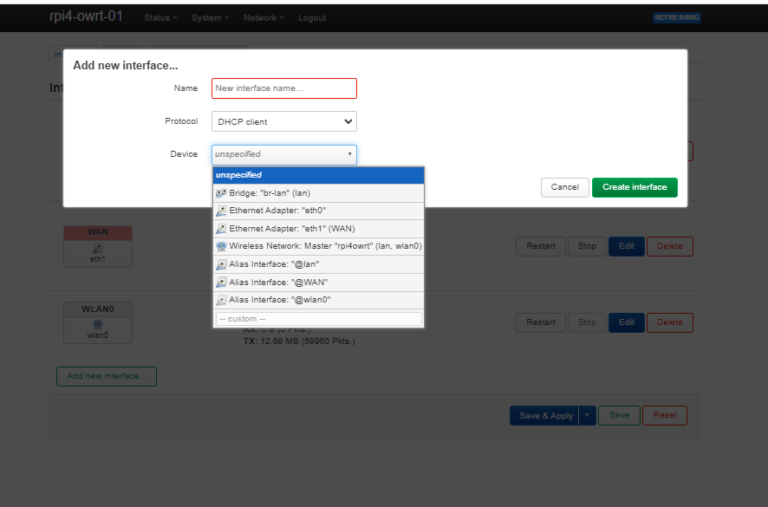
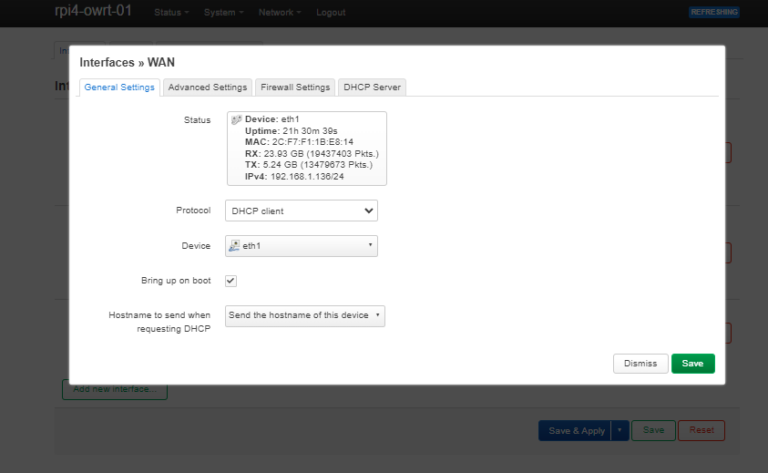
9 – Choose the interface you just created > edit > Protocol – DHCP Client > Device – eth1 > check the bring up on boot check box
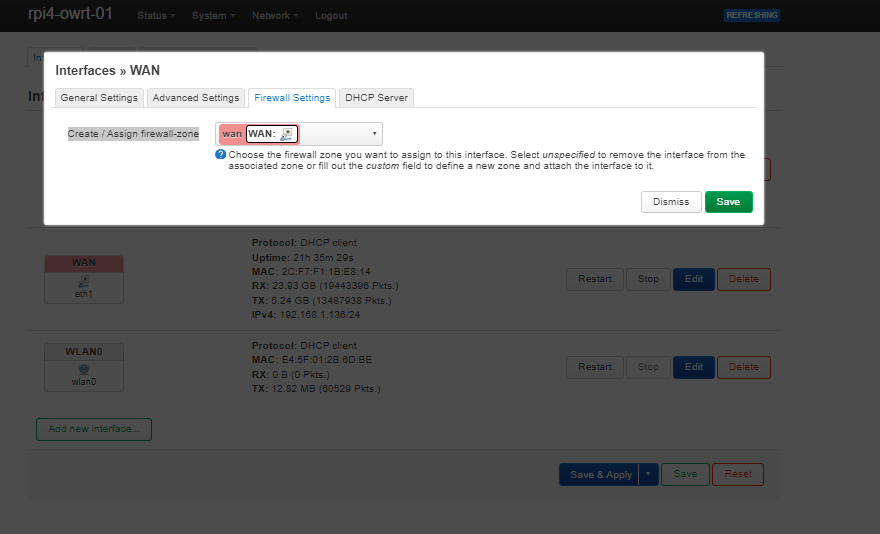
10 – Firewall Settings > wan > Create / Assign firewall-zone – Choose WAN in Dropdown – save > then save and apply.
12 – surf to internet to see if it is working.
I know this one was a short one but I felt the need to post it. I will be posting another one with a Raspberry Pi 4 Model B here <- This video is done by Dev Odessey. It only has one nic but you can use a USB to Ethernet adapter on the USB 3.0 port of the RPi4 as your Second Nic and it will install the same way as this did. Just different hardware.
I hope you enjoyed this article, Please come back soon. Thank you.